Summer Cabana Tutorial
Ahhhh, this is the life. Just “chillin” here under my new summer cabana. Well not really, it’s been raining here for the last few days, so I thought I would share the tutorial on how to make this great cabana so you can have a little protection from the sun and look great while you are!

Supplies needed:

- Steel Wire rope ( 1/8inch )
- 5 eye hooks
- 3 hooks to secure into your eye hooks
- 2 door hinges ( to secure the 1 x 6’s together)
- clamp set ( to secure the wire rope to the eye hooks)
- 3 1×6 ( cut to your desired length) for this project my middle board was 10 feet and the two sides boards were 80 inches
- 2 6X9 drop cloths
- paint
- staple gun to secure the drop cloth to the board
- extra hands or helper
Instructions
Step 1- secure 3 eye hooks to your walls at equal distance to cover the area desired

Step 2- Secure the top eye hook (#4) for the center board . If you are familiar with sailboats think of this as a the boom connecting to the mast.

Step 3- Attach the 5th eye hook to your center board a little more then 1/2 way down on the board .
Step 4- Next loop your wire cable through the eye hook (#5) on your center board and clamp it.

Step 5- Loop your wire cable through the other center eye
hook( #4).

Step 6- Attach a hook to the end of the center board to place in the eye hook ( center) already secured to your wall. Note: Make sure your center board is level or it will make your cabana uneven.

Step 7- attach the two hinges to both sides of the center board to secure the three boards together ( left board with center & right board with center)

Step 8- Align your center board to the middle of your cabana. Screw a hook on the end of one of your boards 1/2 inch from the top of the board. Insert the hook into the eye hook on the wall. Repeat for the other board.

Step 9- Sew your fabric pieces together to make one piece. Place over your cabana shell. Start at the top and center your fabric . To secure to the top, I tied the end of the fabric to the top eye hook
( this is not the most ideal way to secure but so far it has stayed put).

Step 10- Wrap your cover around your outer boards and staple in place. I had to trim and tuck in a few places as well so that it looked even on all sides. I then painted my center board.

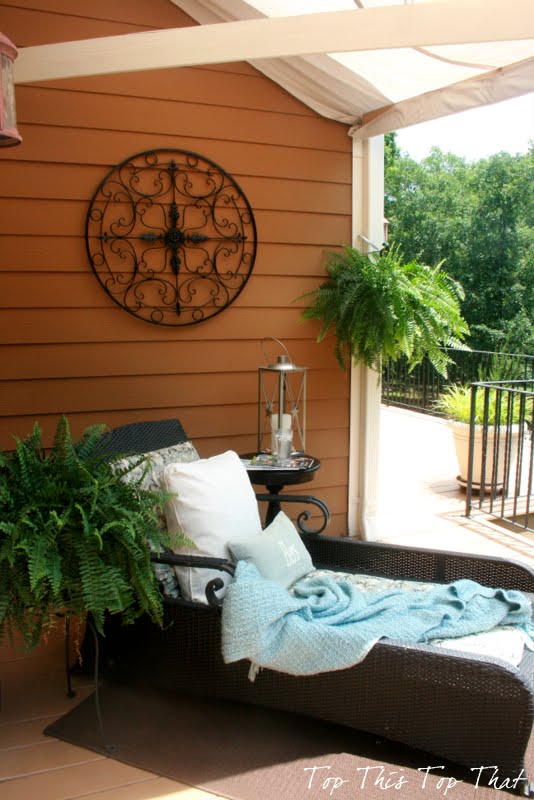
This is what you should see looking up when you are finished, while you are reading a book and sipping on some cold iced tea.

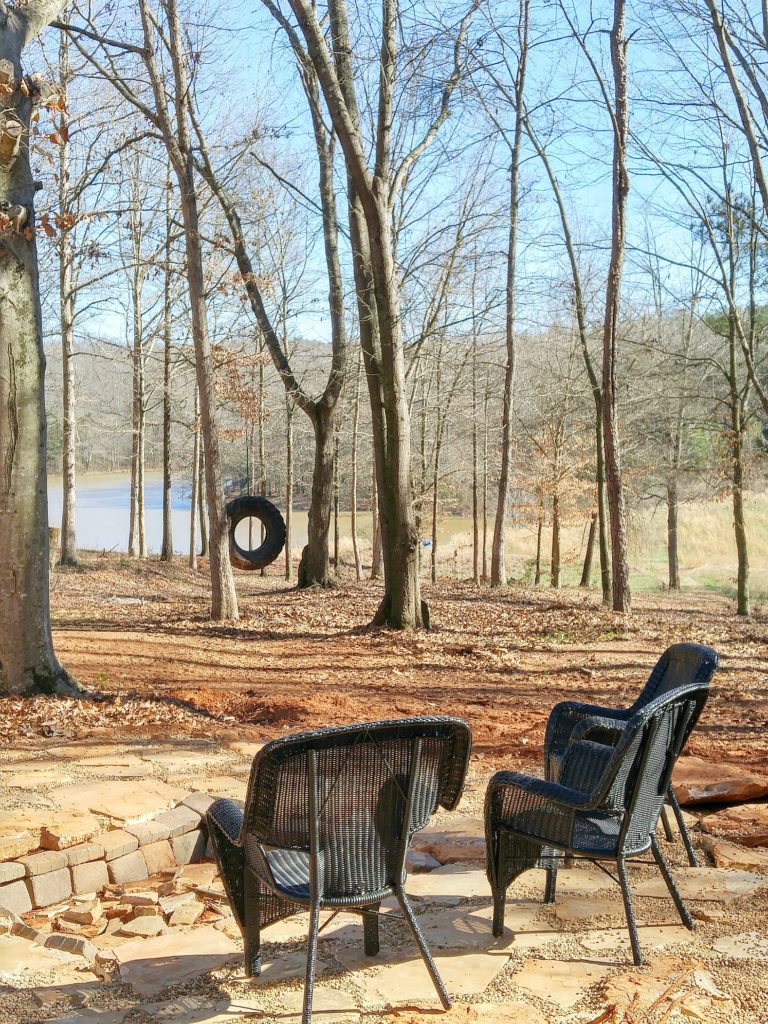
And this is the view looking out when you are sitting under your cabana and thinking…. ahhhhh “This is the life”

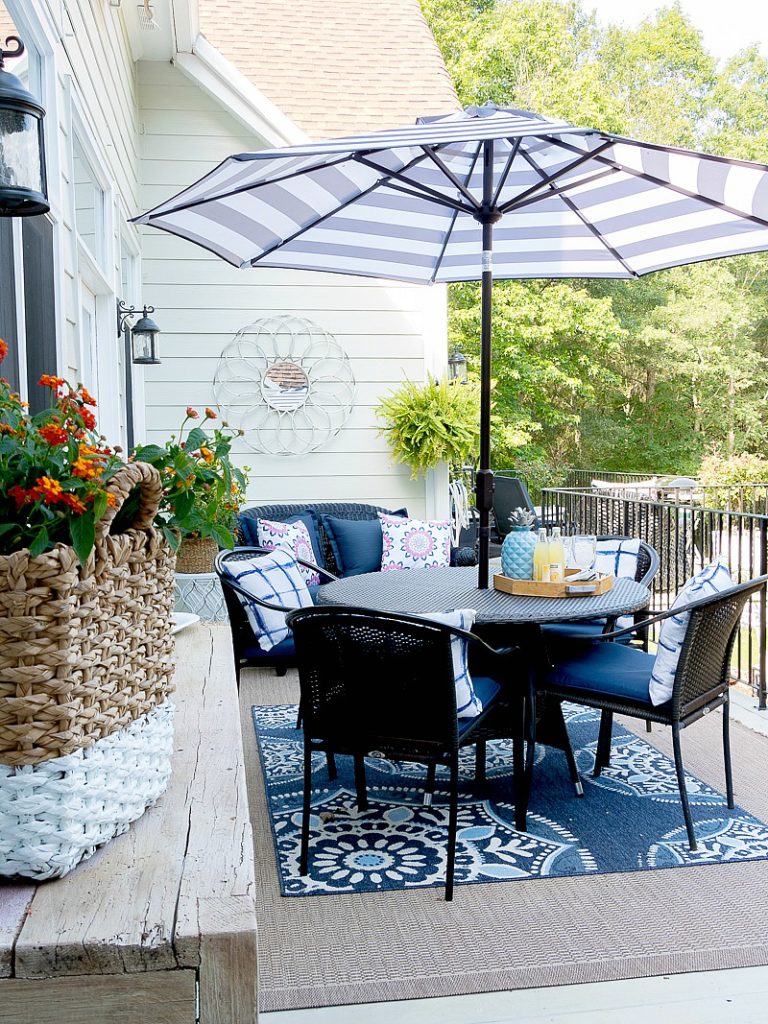
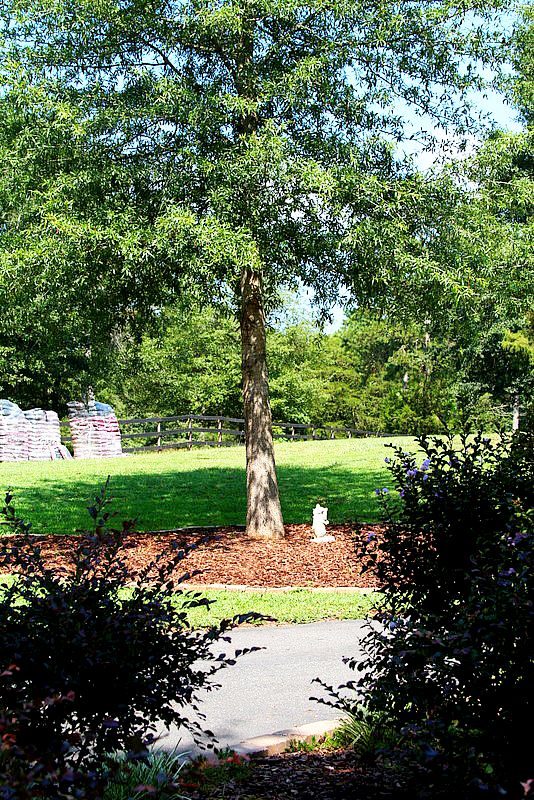
And finally, the view people will have when they look at you sitting in your new cabana and thinking “man I wish I was sitting under there”


This was a relatively a quick and easy project and took us a few hours . All the materials needed can be purchased at your local hardware store. If you need any additional instructions after reviewing the tutorial, feel free to email me
you know where I will be…….. under the cabana.

Sharing with:

Want Top This Top That delivered directly to your inbox?
It’s easy! Just enter your e-mail address.

So creative, Laura! It's the perfect retreat from the heat! 🙂
Love the cabana! And, technically, isn't the first step of the tutorial "rope you husband in to pull out the power tools and ladder" …?
🙂
Linda
This is pretty amazing! Popped over from TBS FB and now following you.
Looks like the perfect spot to spend a summer day. Enjoy your new space!
What a perfect spot for that! And I thought your tutorial was very easy to understand. I just wish I had a place to do that!
Laura,
What a fun idea! I love this! Now I just need a corner to put my cabana. BTW….I loved your lily post….too! You need to post your tips on transplanting 🙂
Have a blessed and wonderful day!
blessings,
karianne
Wow! That's truly impressive!
Can you be hired to do this at my house??? 🙂
It is really, really great!
I love this idea! Thanks for commenting on my blog. I am your newest follower!
Is your Cabana Man bringing you drinks with umbrellas?
~Bliss~
Amazing project, Laura! I see hours of lounging, reading, sipping something refreshing here. 🙂
xo Heidi
This looks amazing! Too bad I won't have a permanent residence to do this for awhile…..
I guess I'll just come to your house to lounge with a glass of lemonade and a book 🙂
Love it. How is it holding up in the rain? We also had a crazy rainy spell yesterday, it's supposed to be summer! Didn't mother nature get the message?
Jessica
stayathomeista.com
Thanks for taking the time to write this tutorial!!!
Thanks for sharing this at The DIY Dreamer.. From Dream To Reality!
Well done and enjoy the shade.
How cool! I love that creative idea!!
How great! I'm sure you'll really enjoy having such a sweet spot in the shade.
So awesome! Looks like a great spot for a book and a glass of iced tea…
This is awesome! I'll have to show my husband and get him busy on it!
I love this!!! We have a balcony that I can't use because it has a southern exposure. Not only would this help with the sun, but it would feel so absolutely decadent reading a book beneath it!
It looks awesome, and I'd love to build one . . . but nobody puts baby in a corner. (Sorry, couldn't resist the "Dirty Dancing" reference.) 😉
Awesome idea! I am so doing this! We have a gazebo but the wind keeps blowing so hard that the gazebo cover was ripped off the frame. Thank you!
This is adorable! What a fantastic and clever idea.
Brenda
What a fabulous idea, Laura! I pinned it so that I could show my husband. Thanks for this great tutorial!!! Hope you're reading this under your sweet cabana! lol!
xoxo laurie
Laura,
I LOVE it!
What a fabulous idea! So creative and inviting!
Thanks for sharing!
Make it a great weekend!
Meegan
What Meegan Makes
I love this spot, hope the sun comes soon for you!
XO
Kristin
I want one!!!! That is fantastic!
Such a great idea! Looks like the perfect summer spot.
What a wonderful idea! I'm sure you will enjoy many days outside in that chaise. Megan
Love!! featured this tonight! stop by and grab a button!! 🙂
Love it. thanks for sharing
Your cabana looks great – well done! Oh, I've got this linked to my post over at the Blog Guidebook as well today!!
Your idea for this cabana is awesome and it is appreciated that you take time out of your day to share it with the hopes of inspiring others.
I could use something like this, too. Great idea.
You got it, girl! Of course, I want one of my GA girls to win! Love everything you do! Do you have an etsy shop? I would love to purchase one of your burlap wreaths for Easter.
What a great idea! I will have to use a heavy duty velcro rather than stapling down the fabric so I can remove it in bad weather and high wind days. My house is only 7 years old so what trees I do have aren't very big yet therefore, the wind seems to be really bad back there. Thank you for sharing such a great idea!! I know what my honey will be doing next weekend, (I say next weekend, because this weekend is Fathers Day after all, ;0).