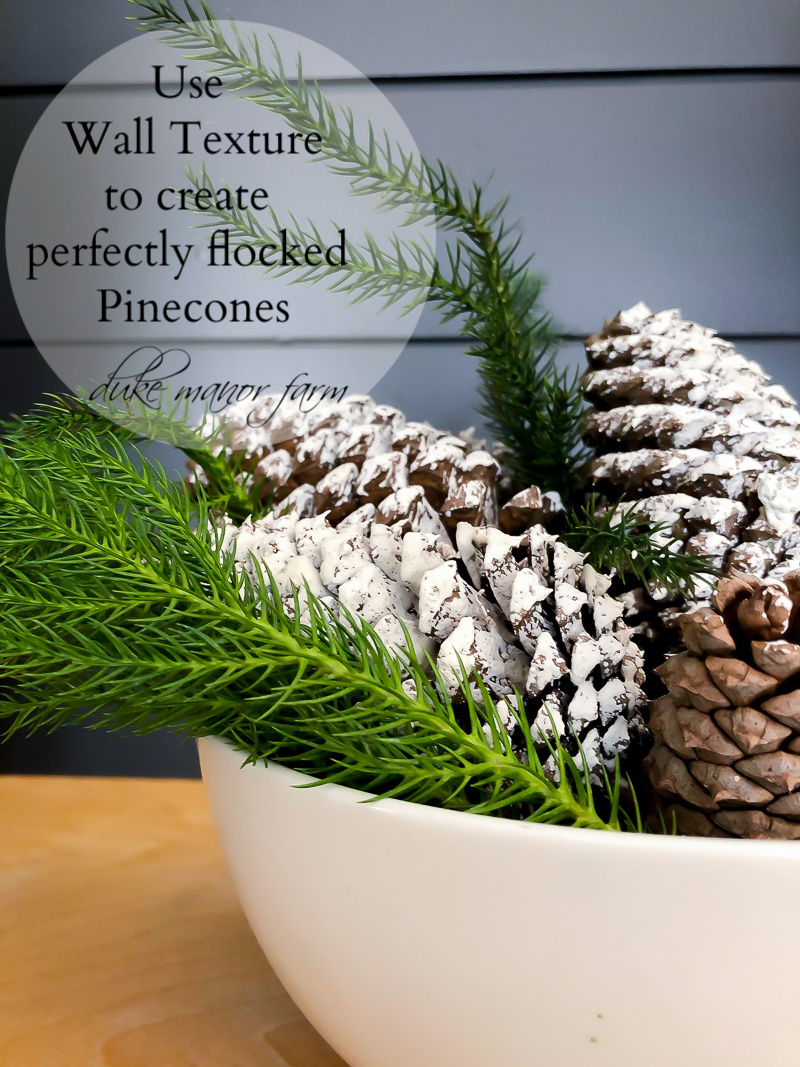
Try this tip for perfectly flocked pine cones
Try this tip for perfectly flocked pine cones and use wall texture to create beautiful flocked pine cones this holiday season.
Welcome to this months Thrifty Style post where I share budget friendly decor and project ideas that anyone can do and that won’t break the bank. You can check out more of my ideas here.
Since we are either getting into the holiday decorating mode, already in the mode or somewhere in between, I wanted to share a tip for creating perfectly flocked pine cones. My discovery of this little trick happened by accident a few years ago and it has worked every holiday season since. You can see where I first shared this idea years ago here.
I love using pine cones in my holiday decor particularly since we have plenty of pines around the property….and it cost’s me nothing. I will either leave them natural, flock them or spray them with pretty seasonal scents like cinnamon or rosemary. Today I am going to show you the easy way I flock my pine cones that I use in my seasonal decor. It’s a super easy and budget friendly project.
What you need for this project:
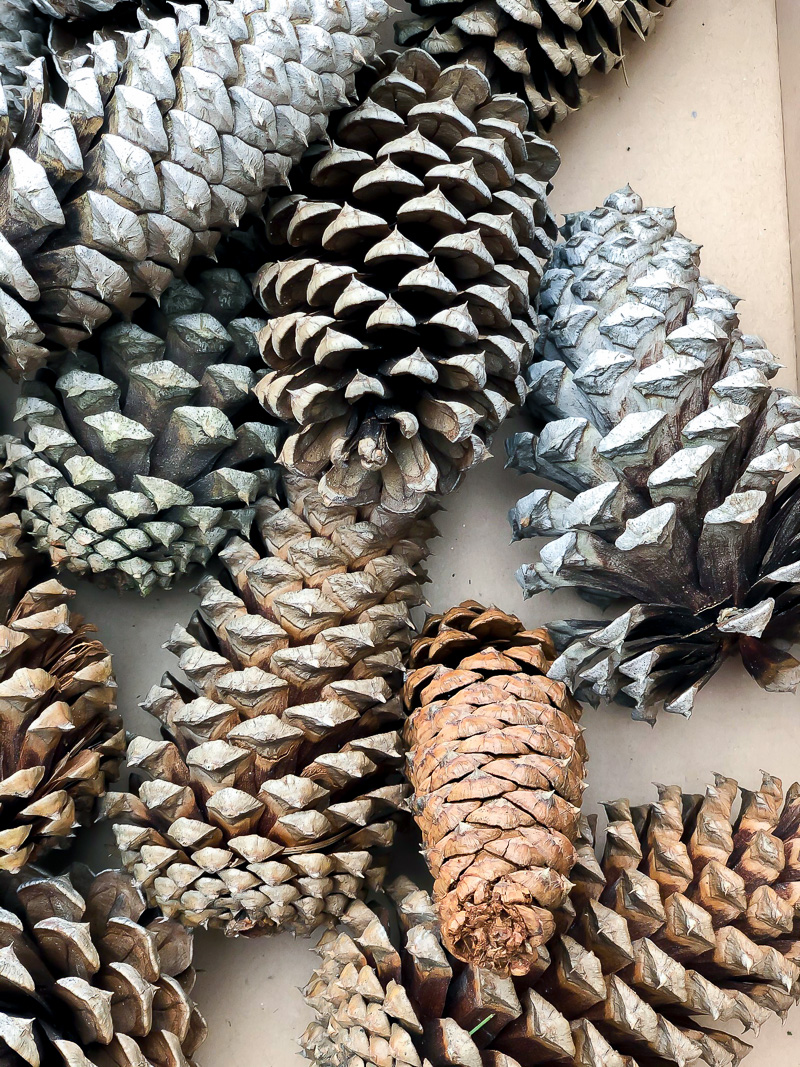
Pine cones- try to gather one’s that are firm and not dried out
Wall texture- I used this one .
A shoe box or something disposable that you can spray the pine cones on
Gloves – optional if you don’t get impatient and touch the pine cones before they dry.
Here’s what you do:
After cleaning your pine cones and getting rid of any lingering critters that may be hiding out, assemble the pine cones in a single layer in a shoe box or other disposable tray.
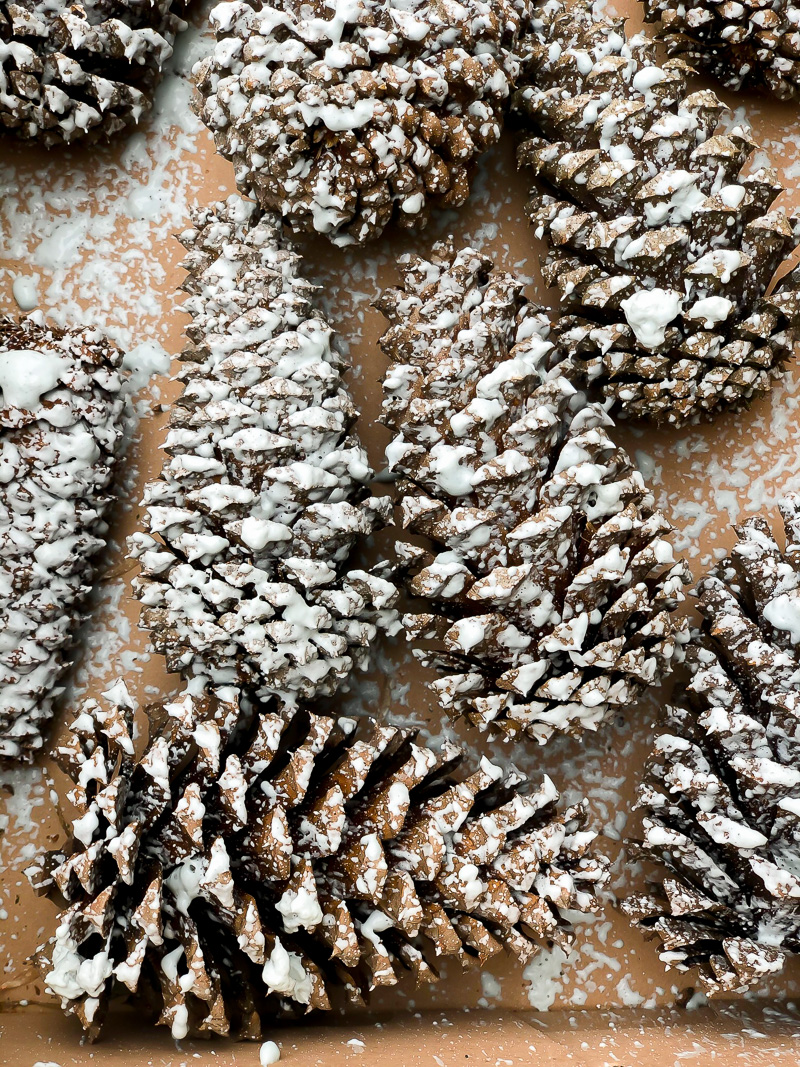
Note: The amount of spray that use will determine the thickness of flocking on your pine cones. This spray has a light and heavy option. I use the heavy option for a thicker coating.
Spray one side of the pine cones. When dry, turn them over and do the other side. Let them dry completely before removing.
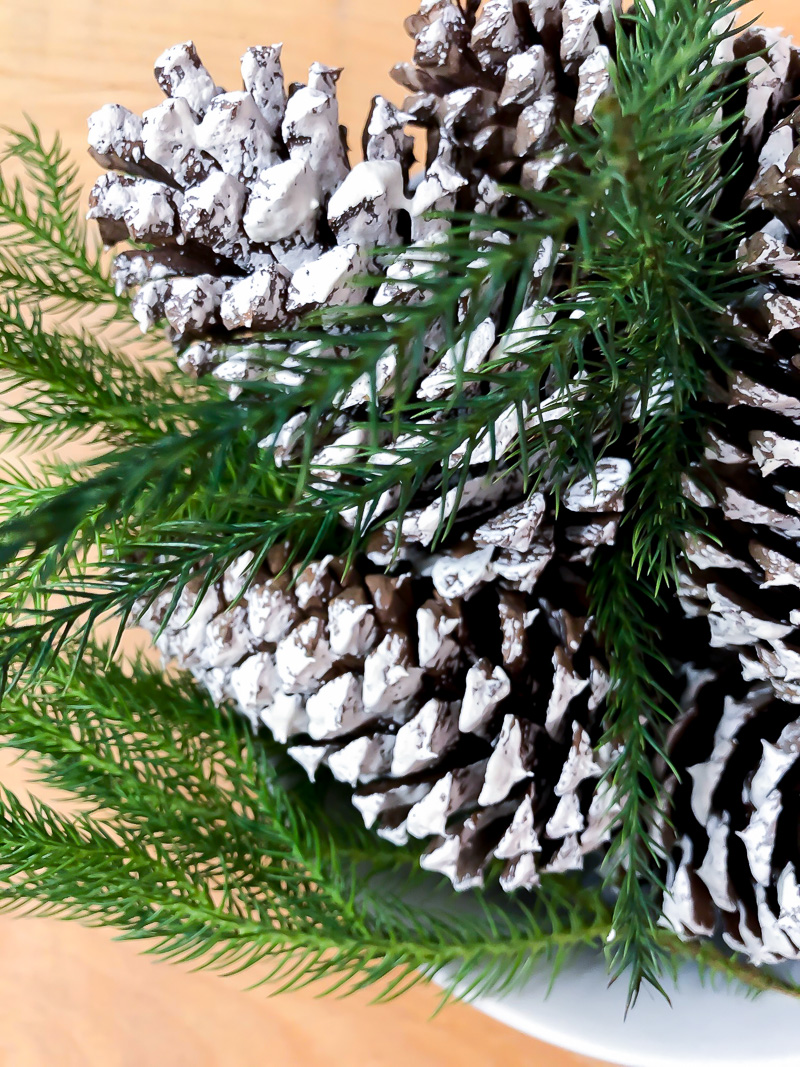
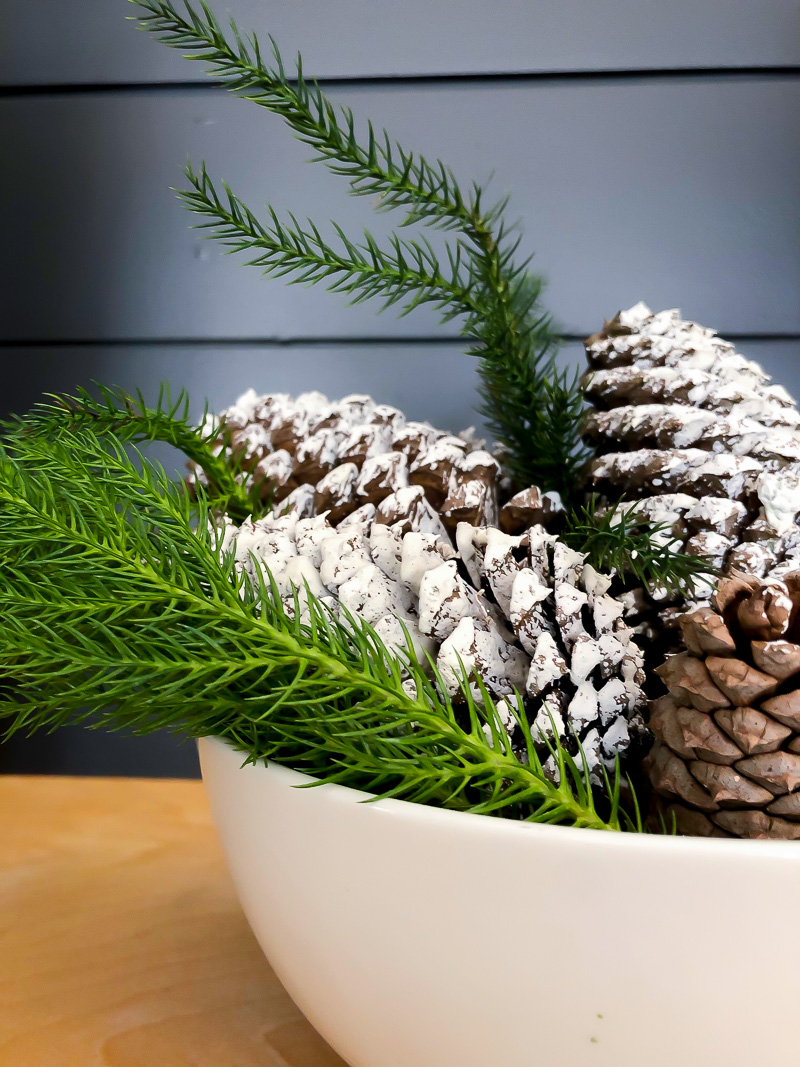
Since the wall texture is water based I would only place the pine cones in dry conditions….or your flock may get messy. I like to place them in pretty bowls and add a few sprigs of fresh Evergreens or colored ornaments and place around the house.
If flocking pine cones is on your holiday decor to do list, I hope this trick may help you out this season.

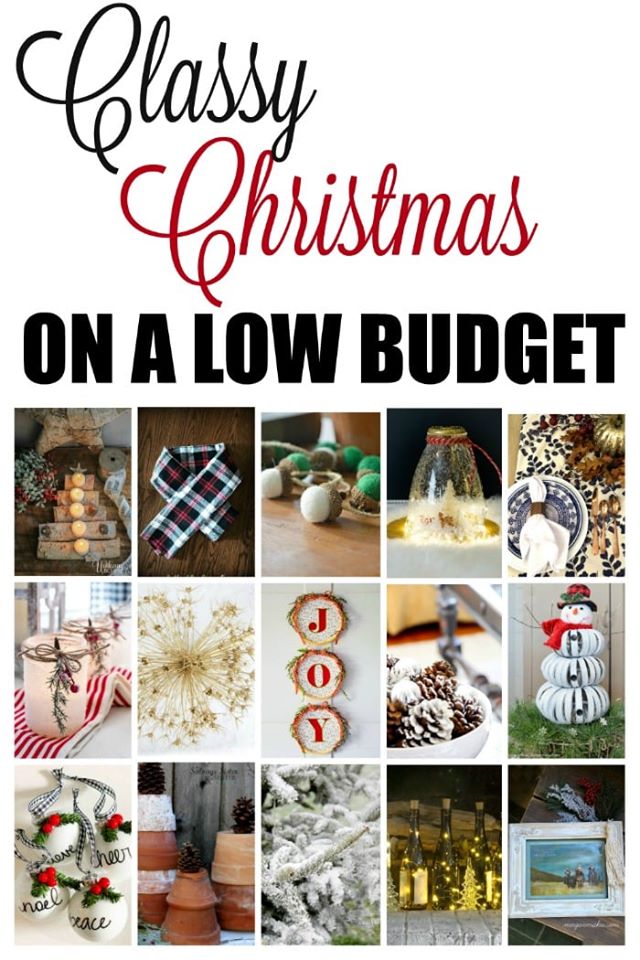
More inspiring holiday projects
Ready for more classy thrifty ideas? Click on the links below.
DIY FELTED ACORN GARLAND from Chatfield Court
DRIED ALLIUM CHRISTMAS ORNAMENTS from The Creek Line House
DIY UPCYCLED SNOW GLOBE from The How-To Home
DIY WINE BOTTLE LUMINARIES from Postcards from the Ridge
FROSTED CHRISTMAS LUMINARIES from DIY Beautify
EASY DIY PERSONALIZED CHRISTMAS ORNAMENTS from 2 Bees in a Pod
THRIFTY HOLIDAY DECORATING IDEAS from Bliss Ranch
REPURPOSED PILLOWCASE SCARF from Redhead Can Decorate
EASY HOLIDAY HOOPS from I Should Be Mopping the Floor
DECOUPAGE AND FRAMED CHRISTMAS CARD ON CANVAS from What Meegan Makes
DIY BIRCH LOG CHRISTMAS TREE CANDLE HOLDER from Unskinny Boppy
PERFECTLY FLOCKED PINE CONES from Duke Manor Farm
MERCURY GLASS PUMPKIN TABLESCAPE from Jennifer Rizzo
TERRACOTTA CHRISTMAS TREES from Salvage Sister and Mister
CANNING RING SNOWMAN from Cottage at the Crossroads
This post may contain affiliate links for products that Duke Manor Farm uses, suggests or recommends to it’s readers.


OK, now….we use wall texture on walls and ceilings, we’ve made a pumpkin noggin out of the mud, and now I find out I can snow-up my pine cones. Thank goodness I snuggle at night with the owner of a drywall business.
I love this idea, so perfect. Thanks
Great idea, I love how they look! Too bad we don’t have pine trees 😪
What?! You have blown our minds! This is super smart and we can’t wait to give it a try!
Definitely lots of pine cones around me. I may give this a try. xo Laura
This is brilliant, Laura! I cannot wait to try this!
Love those flocked pine cones, Laura! They are so pretty! Thanks for giving us another great “easy” project! I will be flocking some pine cones this week! Bless you!
These are so pretty and I love how easy they are to make! Thanks so much for sharing.
Oh Laura! What a fabulous trick. Thanks for showing me how to make flocked pine cones so beautifully. I can’t believe how easy this is,
I am excited to try it soon.
I needed to do this for my project (as Bliss recommended) . So great!
These look so pretty! And who knew how easy they are to make! Thanks for sharing your tutorial.
Love this Laura, and so easy to do!