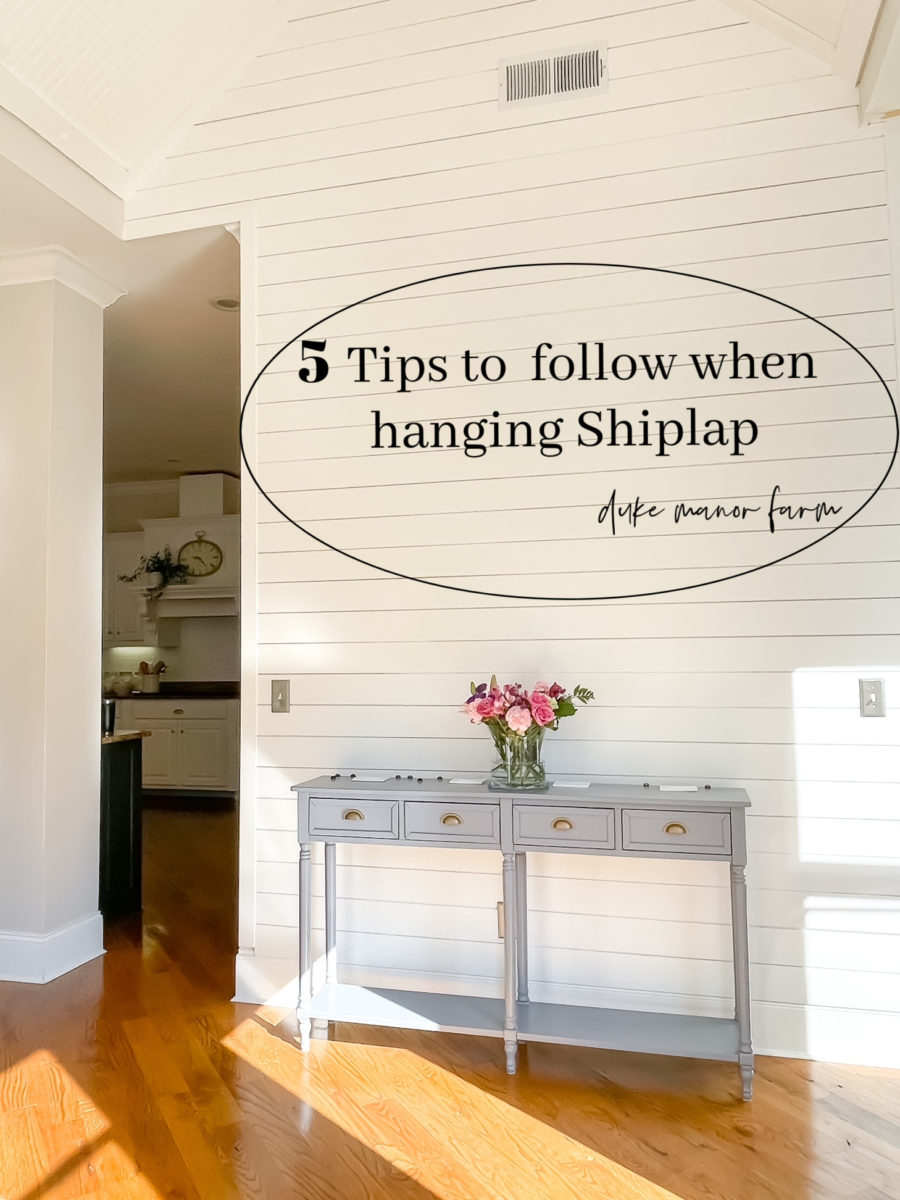
5 tips to use when hanging shiplap
5 tips to use when hanging shiplap including the most important place to start on your wall, tools needed, and why you can do this project yourself.
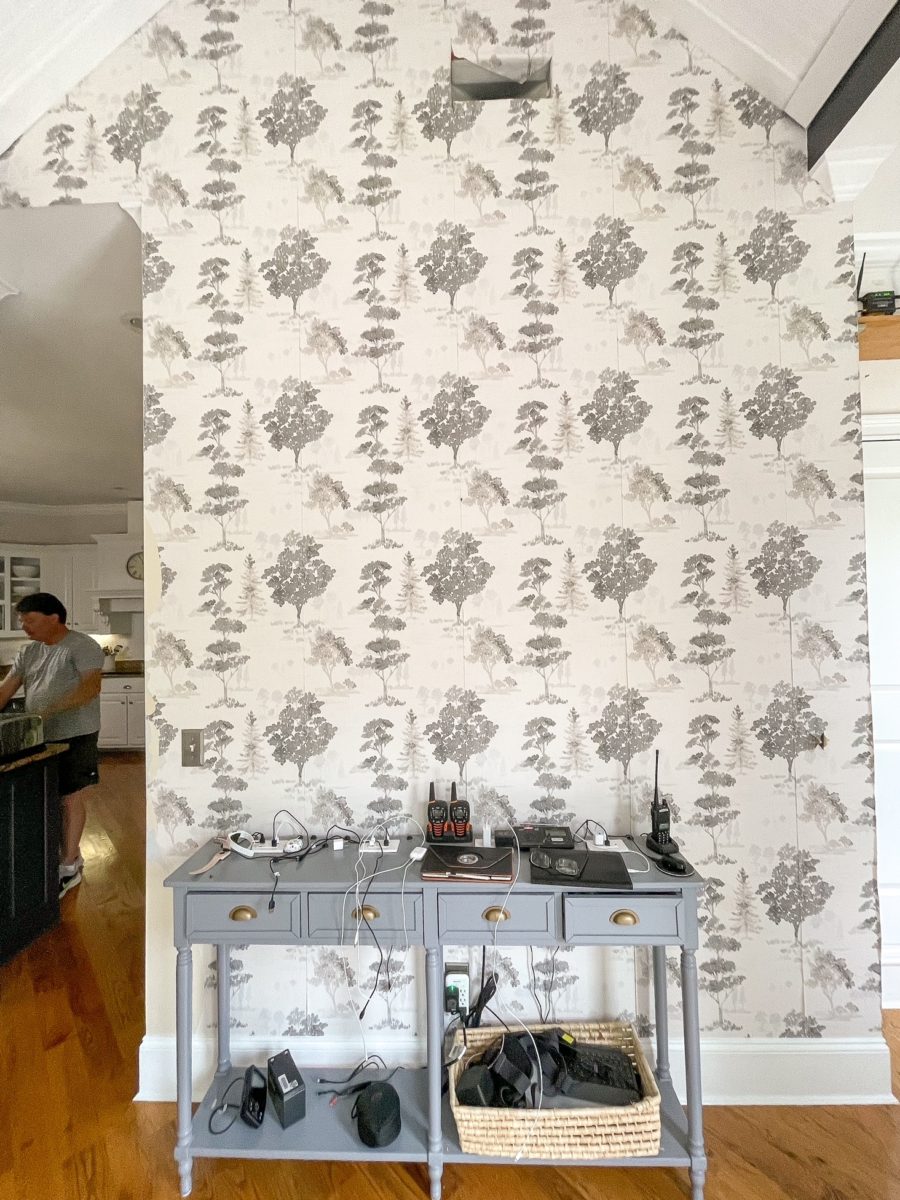
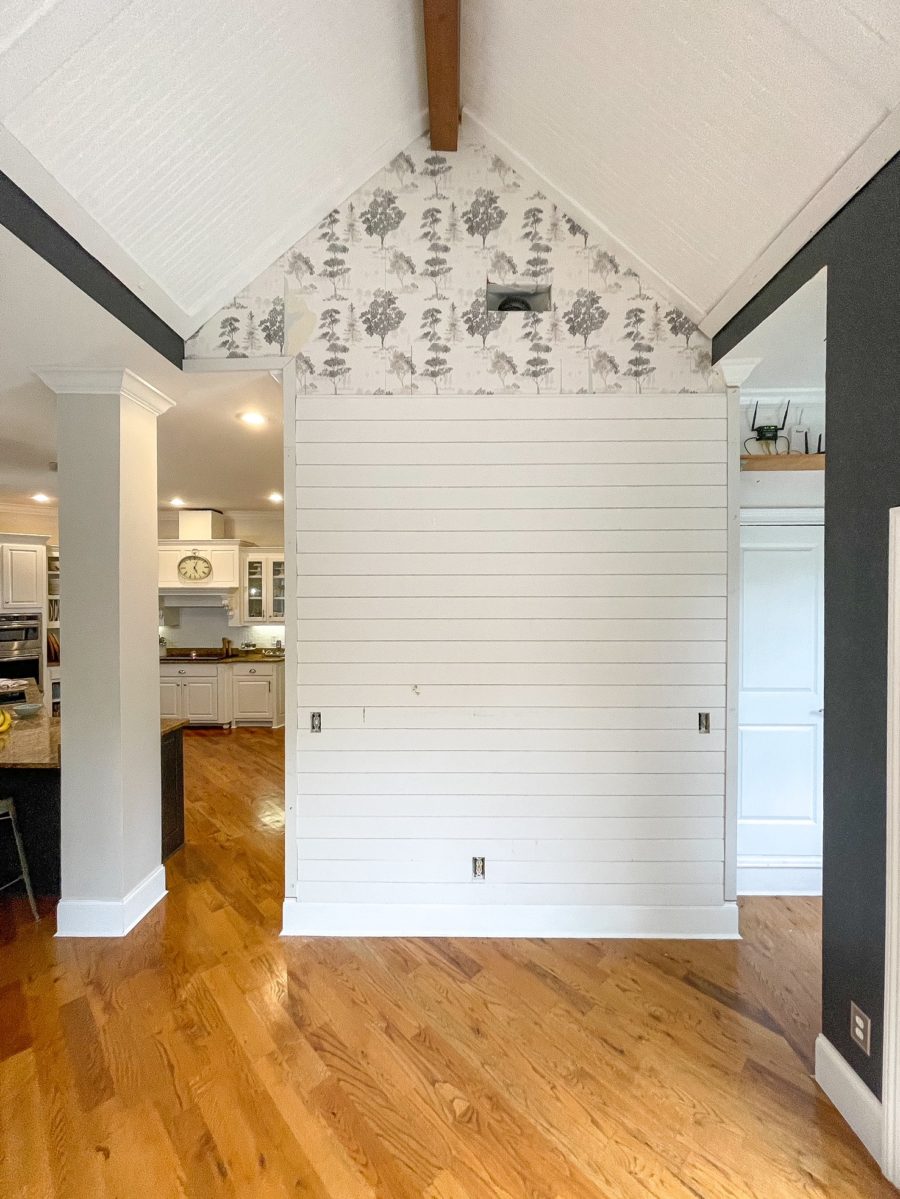
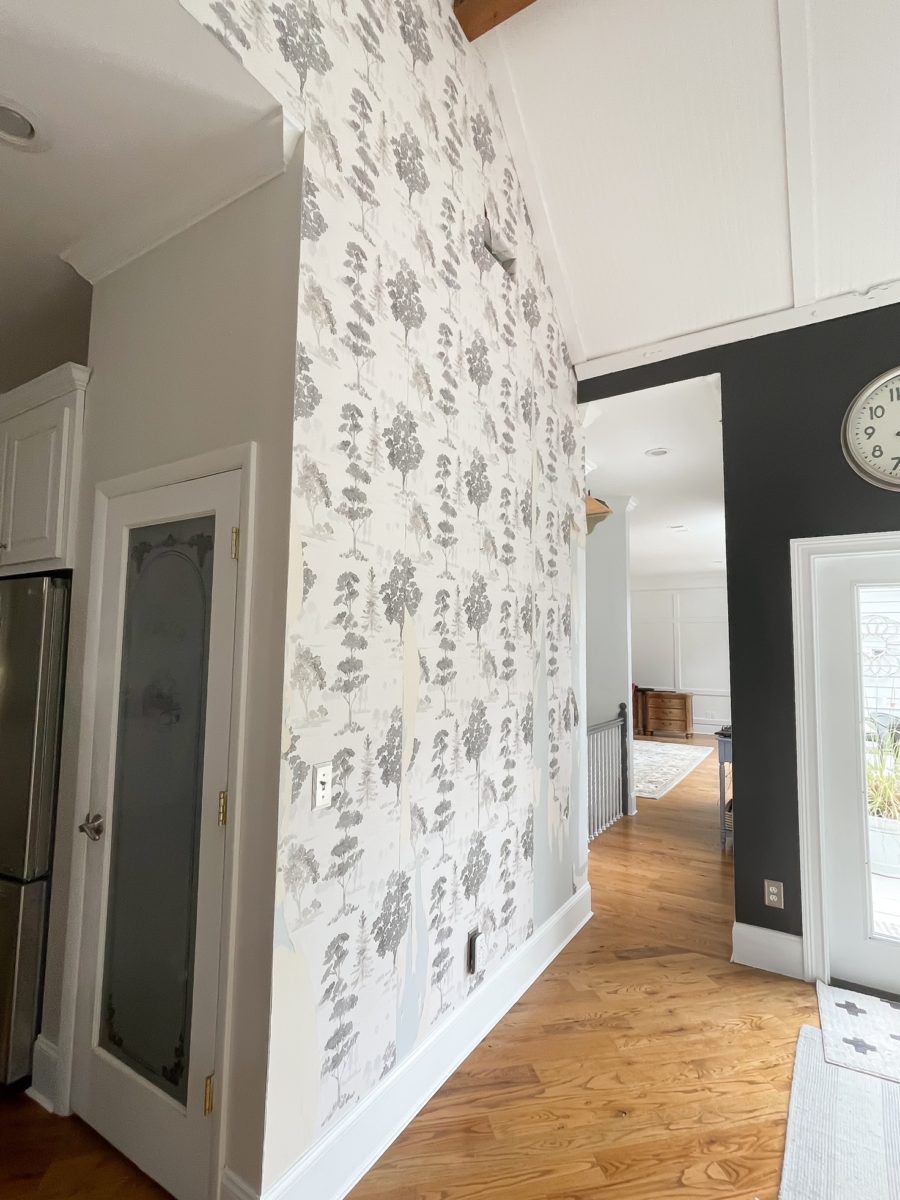
So it’s done! After too many months of looking at unsightly wallpaper lifting at the seams…it’s done. We finally covered up the remaining wall with shiplap. As you know the wallpaper I hung just a few years ago had issues. Although it feels like I wasted time and money putting the paper up, I can’t say I’m disappointed. Sorry, not sorry. The best part about this project was that I just covered up the wallpaper with wood which saved tons of time. If I had to remove the paper, I would have followed my tips for removing stubborn wallpaper here.
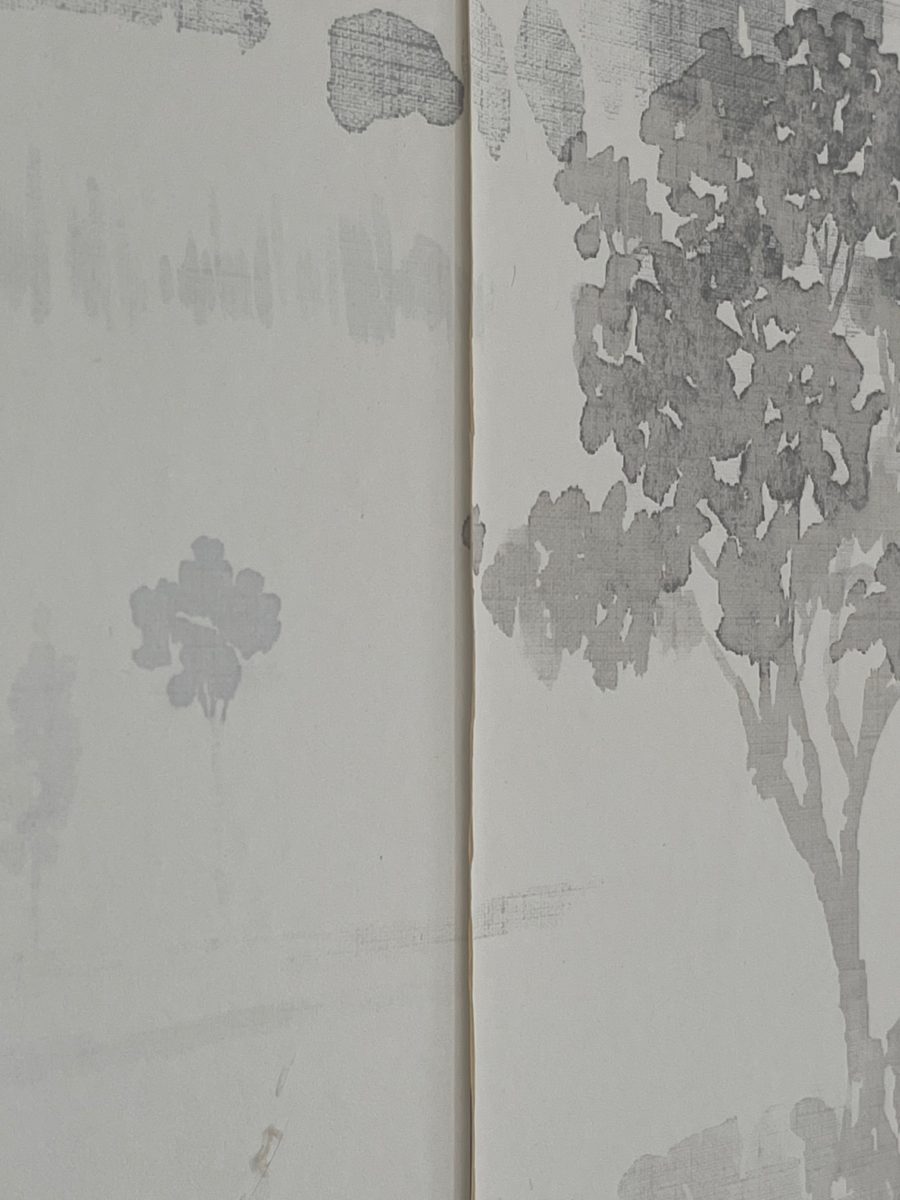
Here’s the before of the wall and the lifted seams. Ugh! If you are wondering, I honestly think (although it could have been my application) it was the quality of paper as this has never happened with other wallpaper projects. The lifted seams happened everywhere I hung the paper.
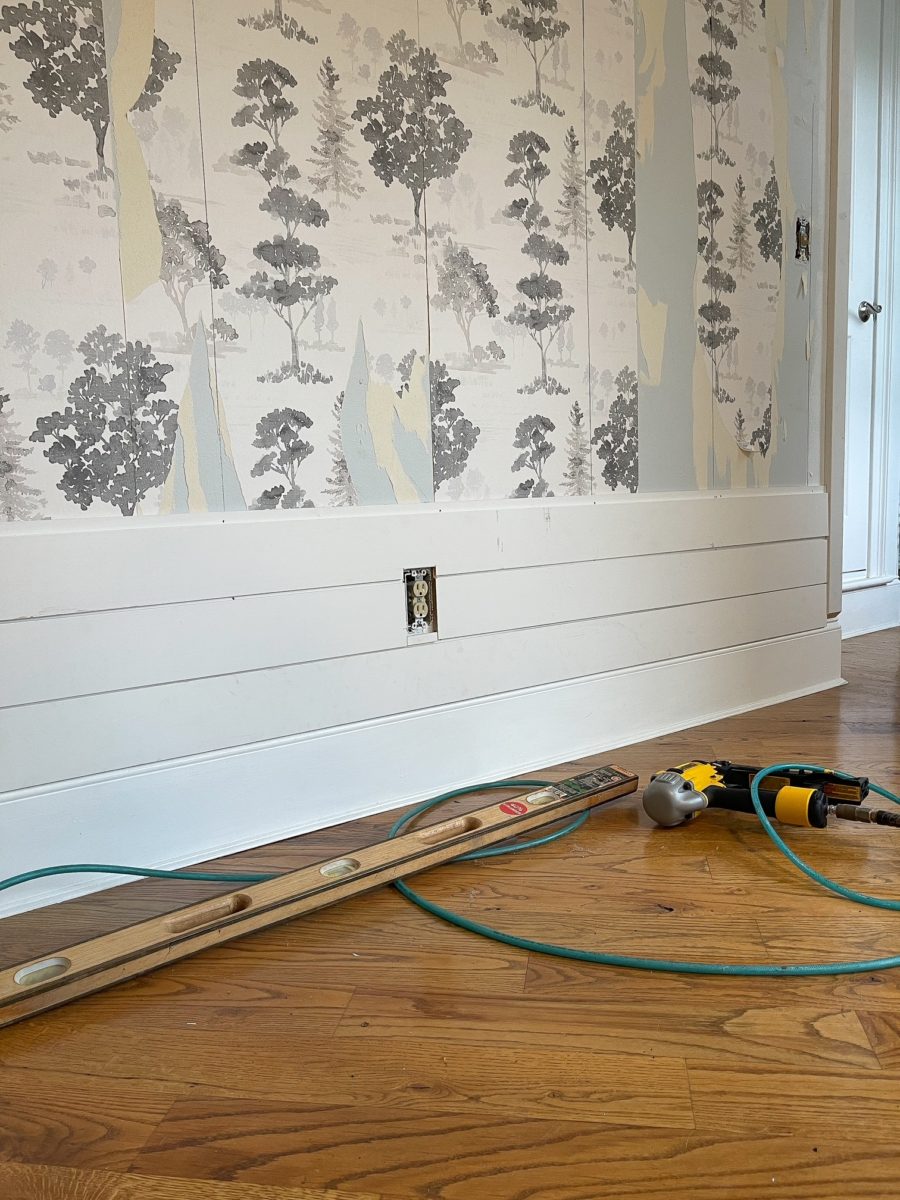
We have done several shiplap projects around the house including the ceiling. The last one was the laundry room. Although you could hire this type of project out, you really don’t need to. With the right tools ( level, nail gun, and wood) this is really not a difficult project. I wanted to share 5 tips that we use when hanging shiplap. Hopefully, it will motivate you to tackle the project yourself…and save you some money.
5 tips to use when hanging shiplap
Know your wall
Find the studs on your wall. This is so important as the studs will act as an anchor when you are hanging your pieces of wood. If you miss the step and just start nailing into the wall, chances are your pieces can come down and won’t be secure. We marked the wall so it made the project move faster.
Keep things square
Let’s face it not every wall is perfectly square. Something we do before putting the boards up is trim out the wall first. This helps to keep things square with your project.
Go long
Find the longest boards you can for your space. Longer boards will cost more but in the end, your wall will thank you for it. This allows for continuity in your lines ( horizontal or vertical) not to mention additional steps with your joining pieces.
Level up
After your square is created leveling that first board is critical. No one wants to look at a wonky wall
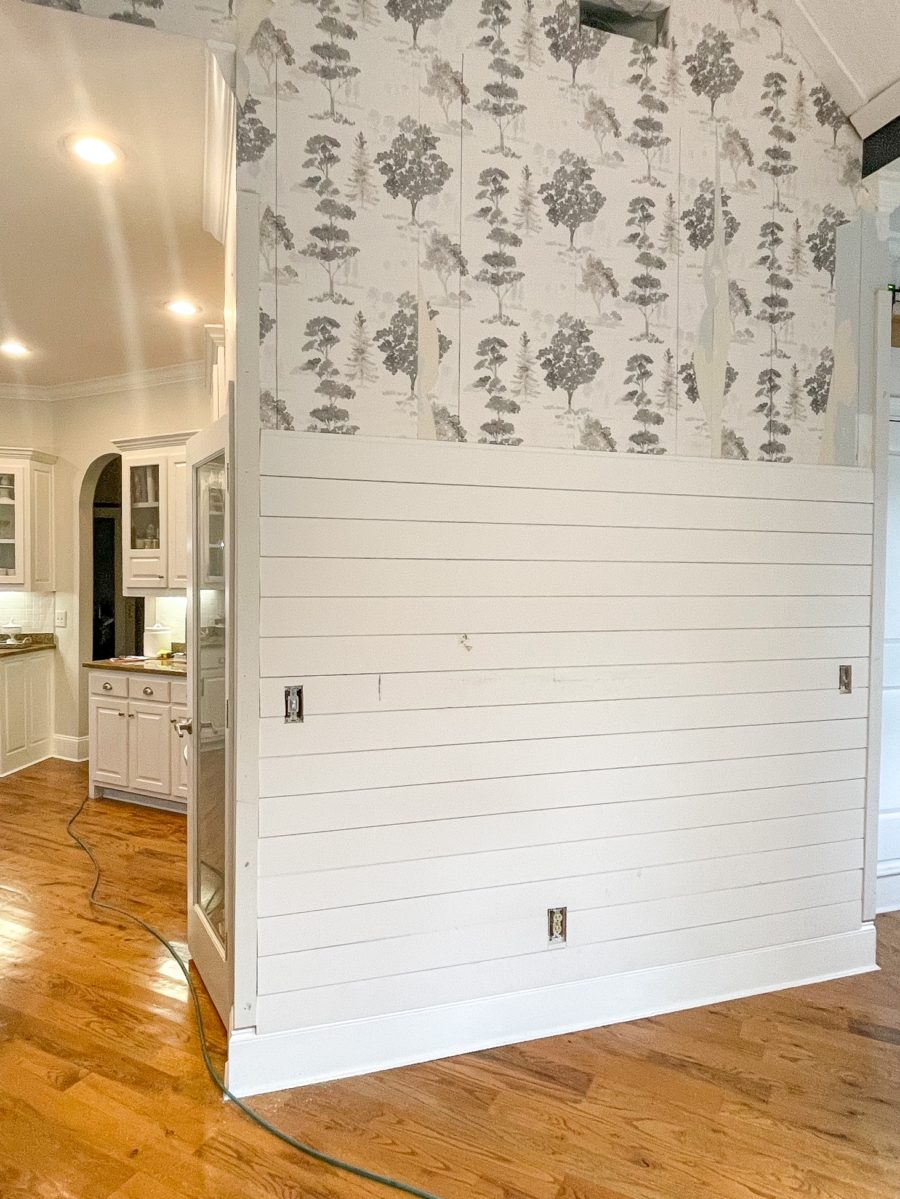
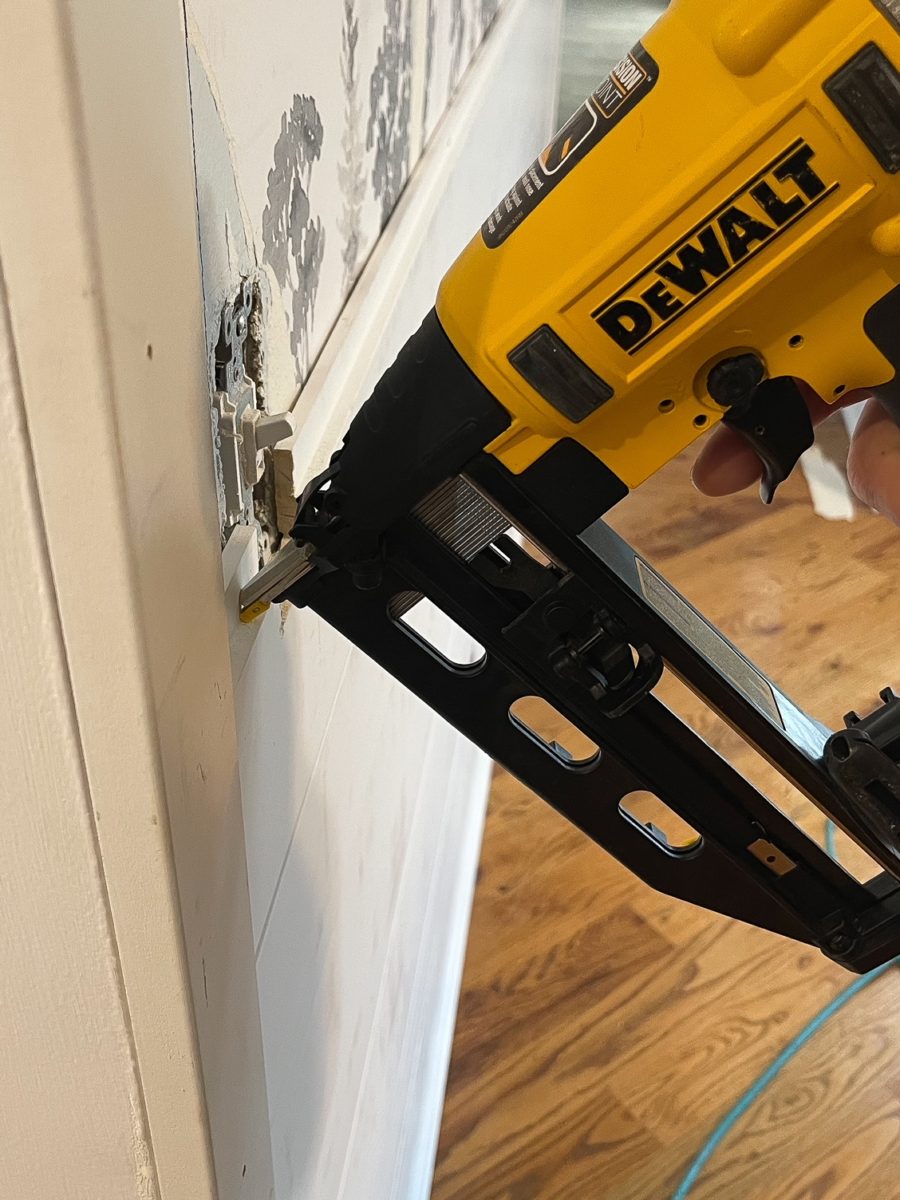
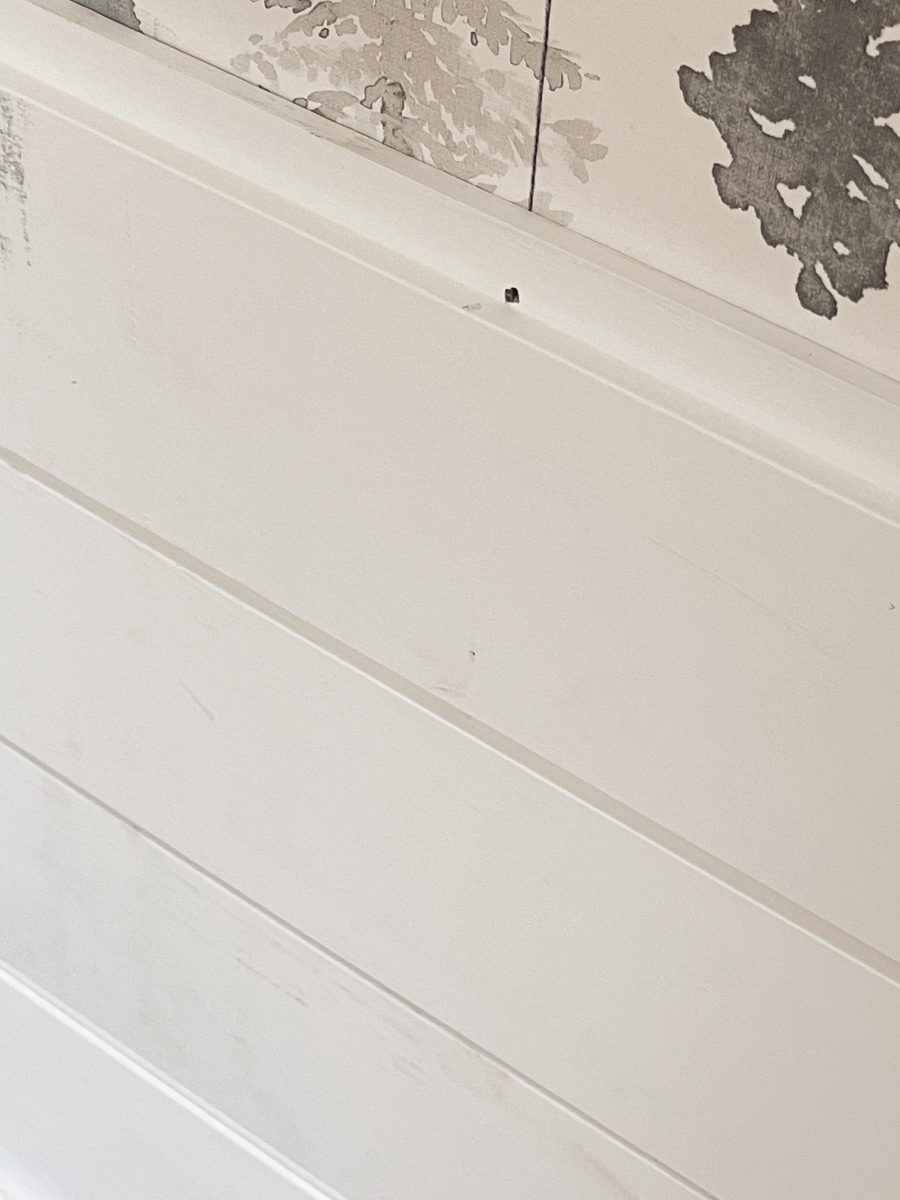
Hide and conceal
The beauty of the wood that we use, is that it has a lip that you can nail your boards into. Nails are concealed when the next board is placed on top and so on. You will continue this process until you cover the entire wall. Got an exposed nail, no problem. You can fill it with this, sand the spot and you should not be able to see it. We used this wood in 8 and 12 foot sizes and this nail gun. Good tools make all the difference for projects like this.
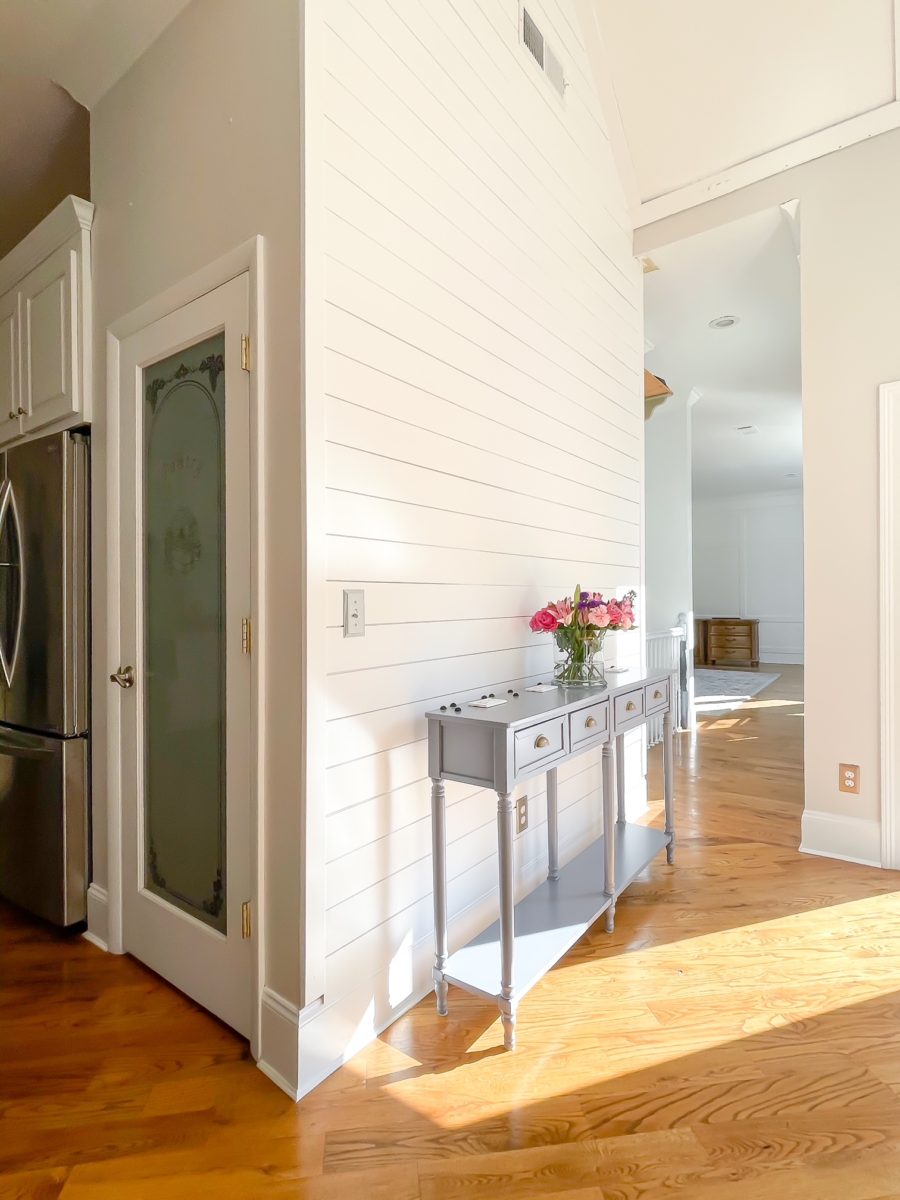
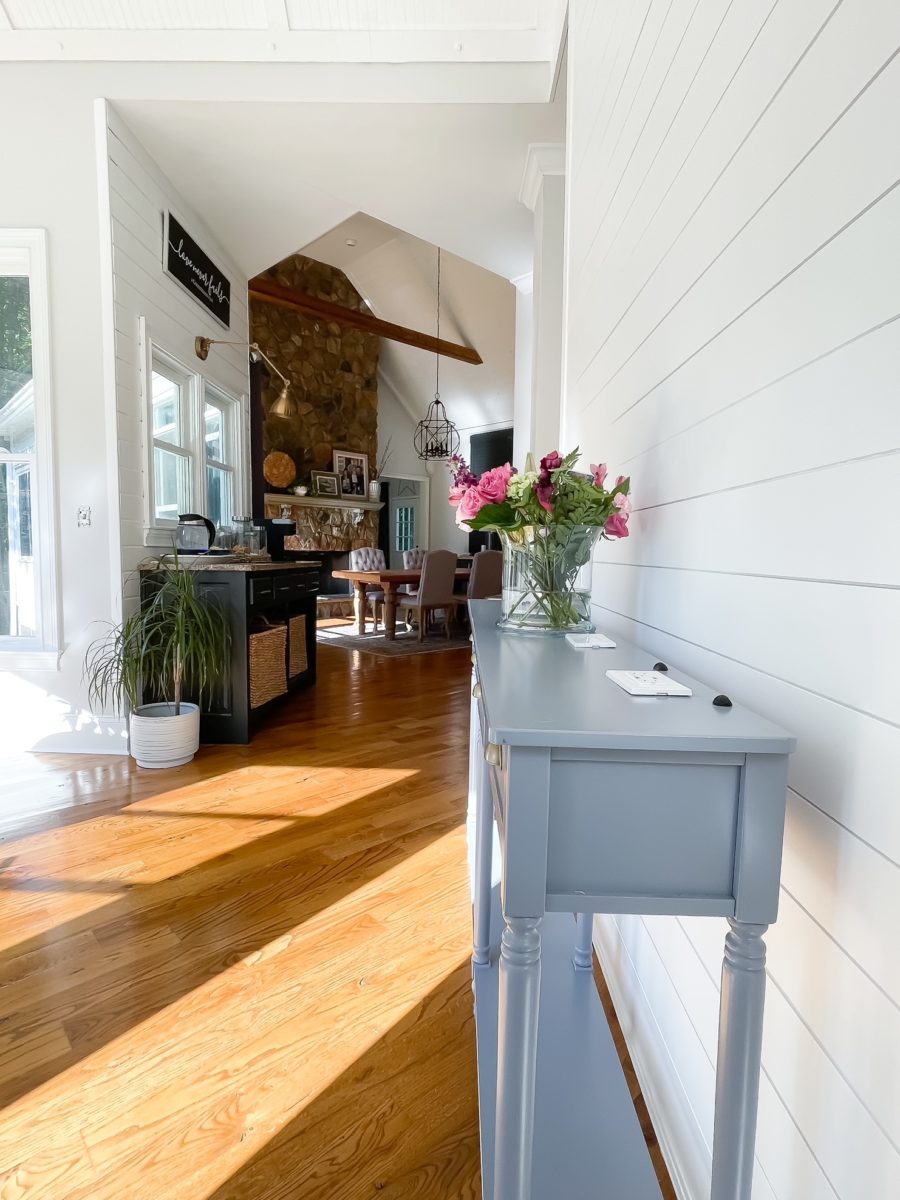
Another before and after……
I can’t wait to show you more of the projects that I have been working on. In the meantime click here to see other project ideas and tutorials.
PS- did you notice that I painted the walls a lighter color in this space?

grateful
for a finished wall
This post may contain affiliate links for products that Duke Manor Farm uses, suggests, or recommends to its readers.


Looks beautiful, crisp & clean. Love it.
Looks great! Love your home!