Ideas & Additional Instructions for Original Burlap Wreath
Thank you for your interest in my easy burlap wreath.


In addition to the tutorial that can be found here , I have provided more details based on commonly asked questions that I have received to help you make this beautiful burlap creation.
To begin your wreath, secure your end by taking one end of the burlap and wrap around the wire rim, pulling tightly to secure. OR without pulling so tightly leave end in place ( this is the method I use)

Using the other end (in one continuous piece or cut it in equal pieces) ,weave the burlap in and out through the wire rim, going back and forth and in and out. You will do this for the entire wreath form.
Make sure your loops are approximately the same size as you work your way around the wreath.
Make sure your loops are approximately the same size as you work your way around the wreath.

For a fuller wreath, use more burlap. This project took ~1.5 rolls of burlap on a 10 foot roll to complete.

Things to remember-
Make sure your loops are the same size around your form or your wreath will not look even.
Use burlap garland with a slight edge. Ribbon with no edge will not work as well. This is a picture of the garland that I use

Use the wreath in covered outdoor spaces or indoors only. Occasionally you can spray with fabreeze to eliminate any odors from the natural fibers.
Burlap garland can be spray painted. Giving you more options for your wreath. To see an example and the details click here.
Burlap garland can be spray painted. Giving you more options for your wreath. To see an example and the details click here.
Different looks/seasons for your burlap wreath

Everyday wreath

Fall Wreath here


Fall Pumpkin Wreath here

Black Spider Wreath here

Halloween Idea here

Creepy Birds Wreath here


Easter and Spring Wreath here

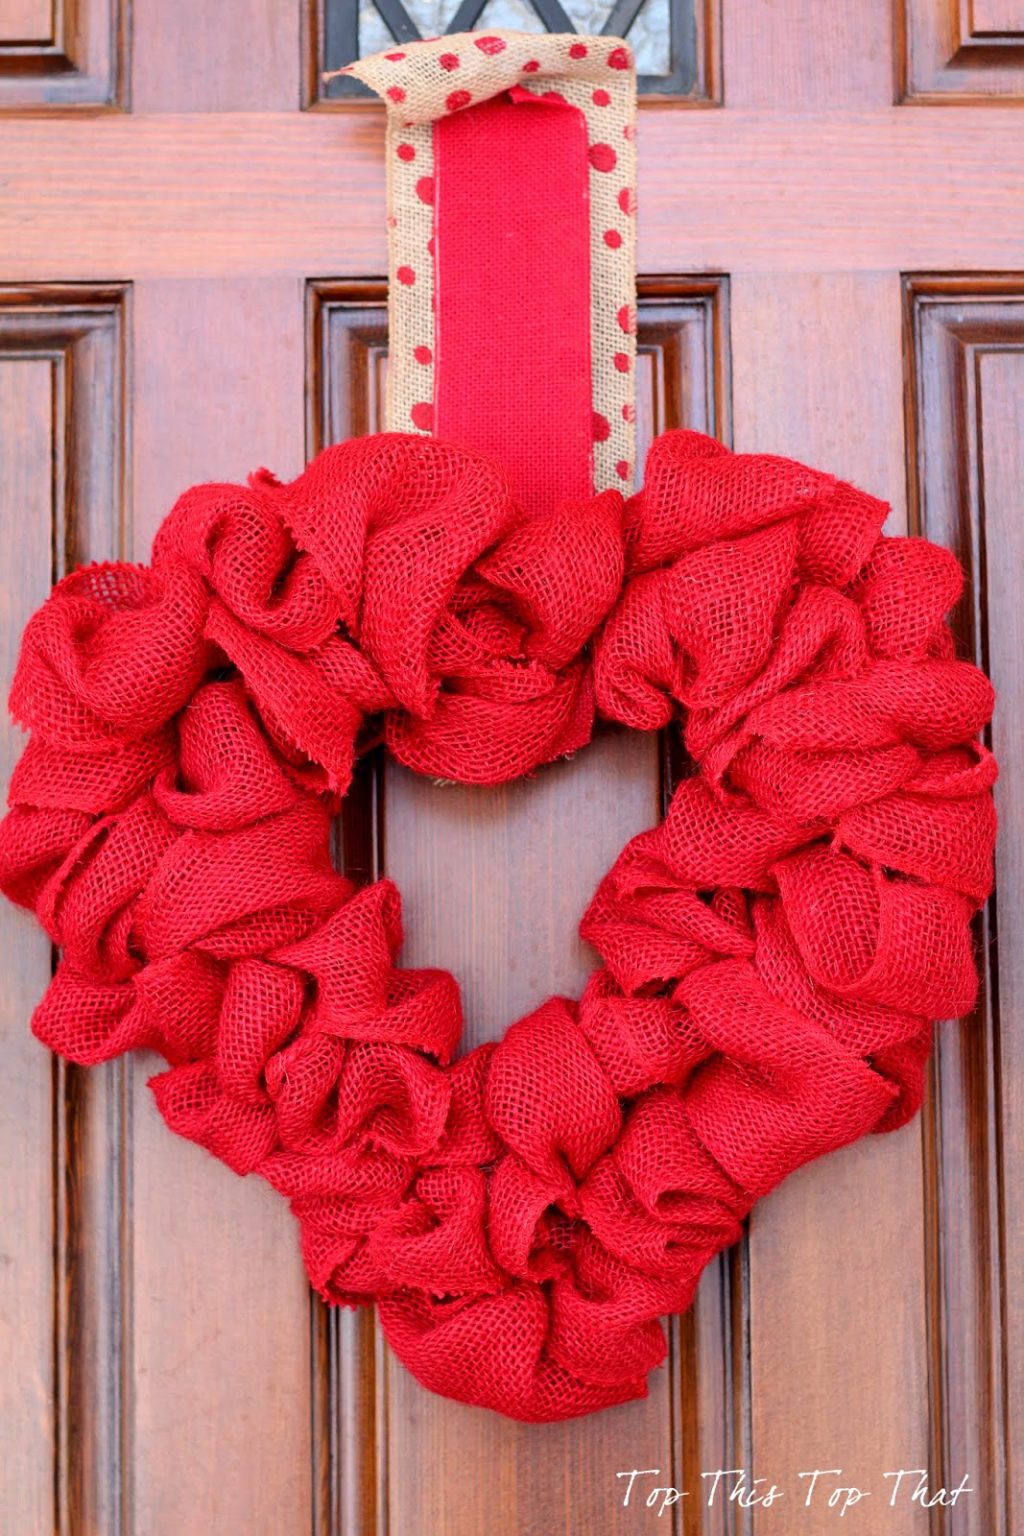
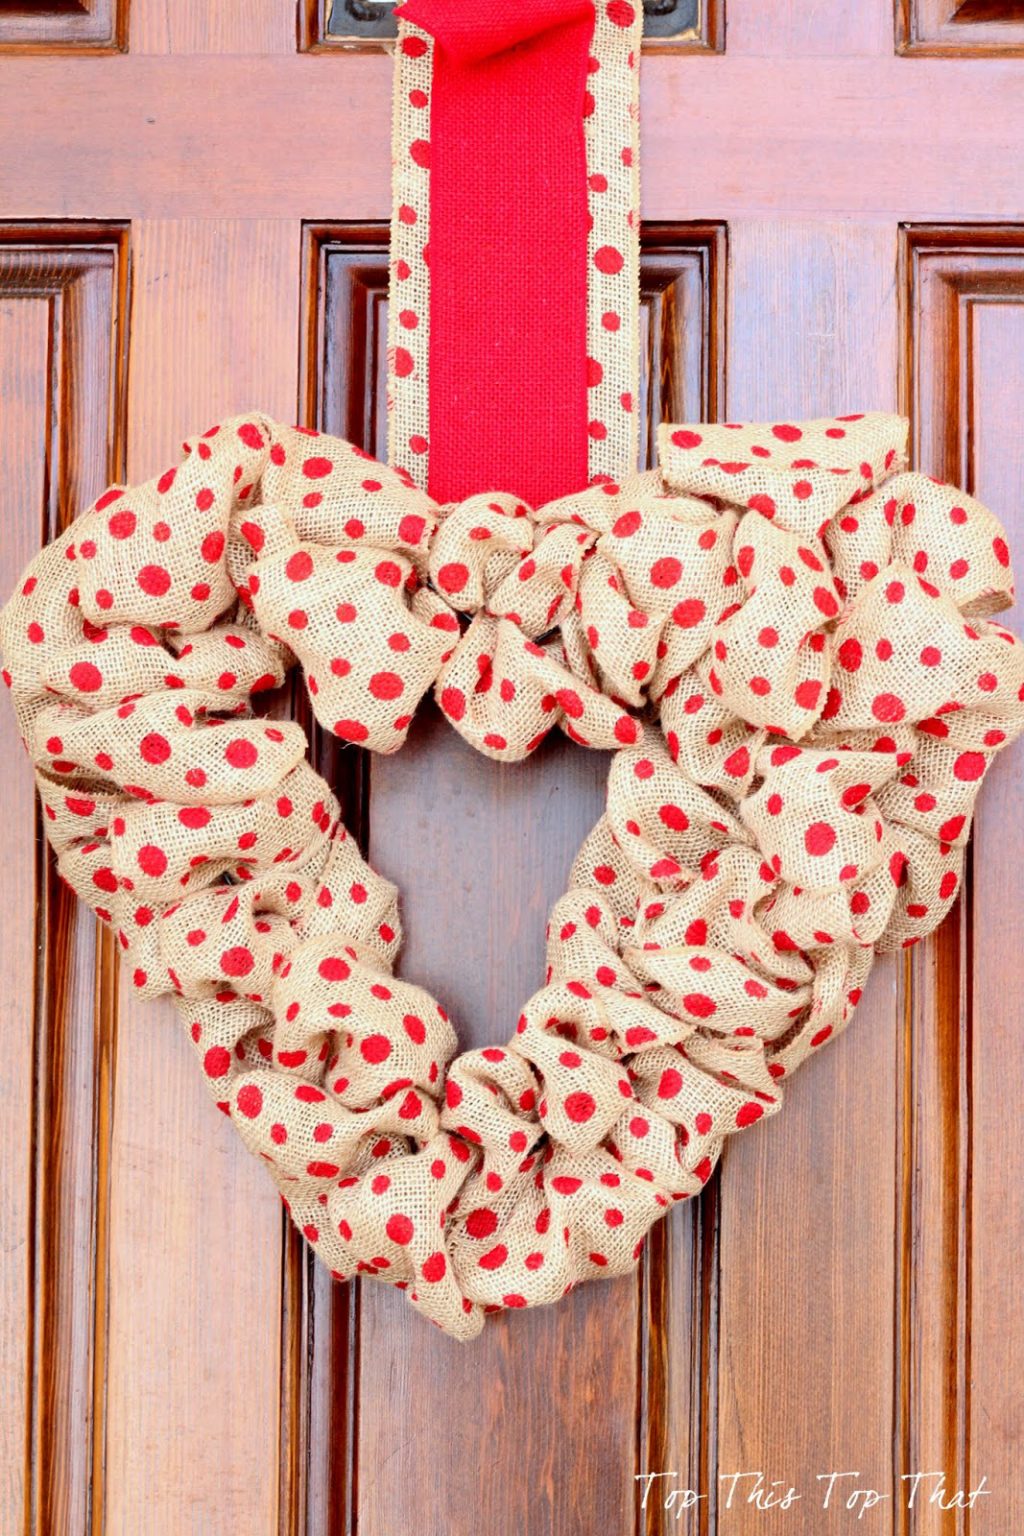
Valentine Wreath here and here

Burlap Trees here


Christmas Wreath Ideas
Want Top This Top That delivered directly to your inbox?
It’s easy! Just enter your e-mail address.