Dehydrate Apples in 3 easy steps
Let me show you how to dehydrate apples in 3 easy steps in a dehydrator so you can keep the apples for future recipes or as a quick healthy snack. Dehydrating apples is also a great way to preserve apples and enjoy them longer.
We love apples around here, including our animals. In fact, we planted a few apple trees a couple of years ago and are waiting to pick our own. Lily is leading the effort in our household with our garden and food preservation and we are all quite impressed. About a year ago she expressed interest in dehydrating fruits and veggies so we bought a dehydrator.
Since we don’t like to waste around here, dehydrating the apples has given us a chance to enjoy one of our favorite fruits anytime we like. From a quick snack to using them in recipes, dehydrating apples has been such a great way to preserve and enjoy them.
Dehydrate Apples in 3 easy steps
There isn’t much you need to dehydrate most fruits and vegetables, including apples. I think that’s what we love about this process the most. You do need some time though, for the dehydration process.
Ingredients
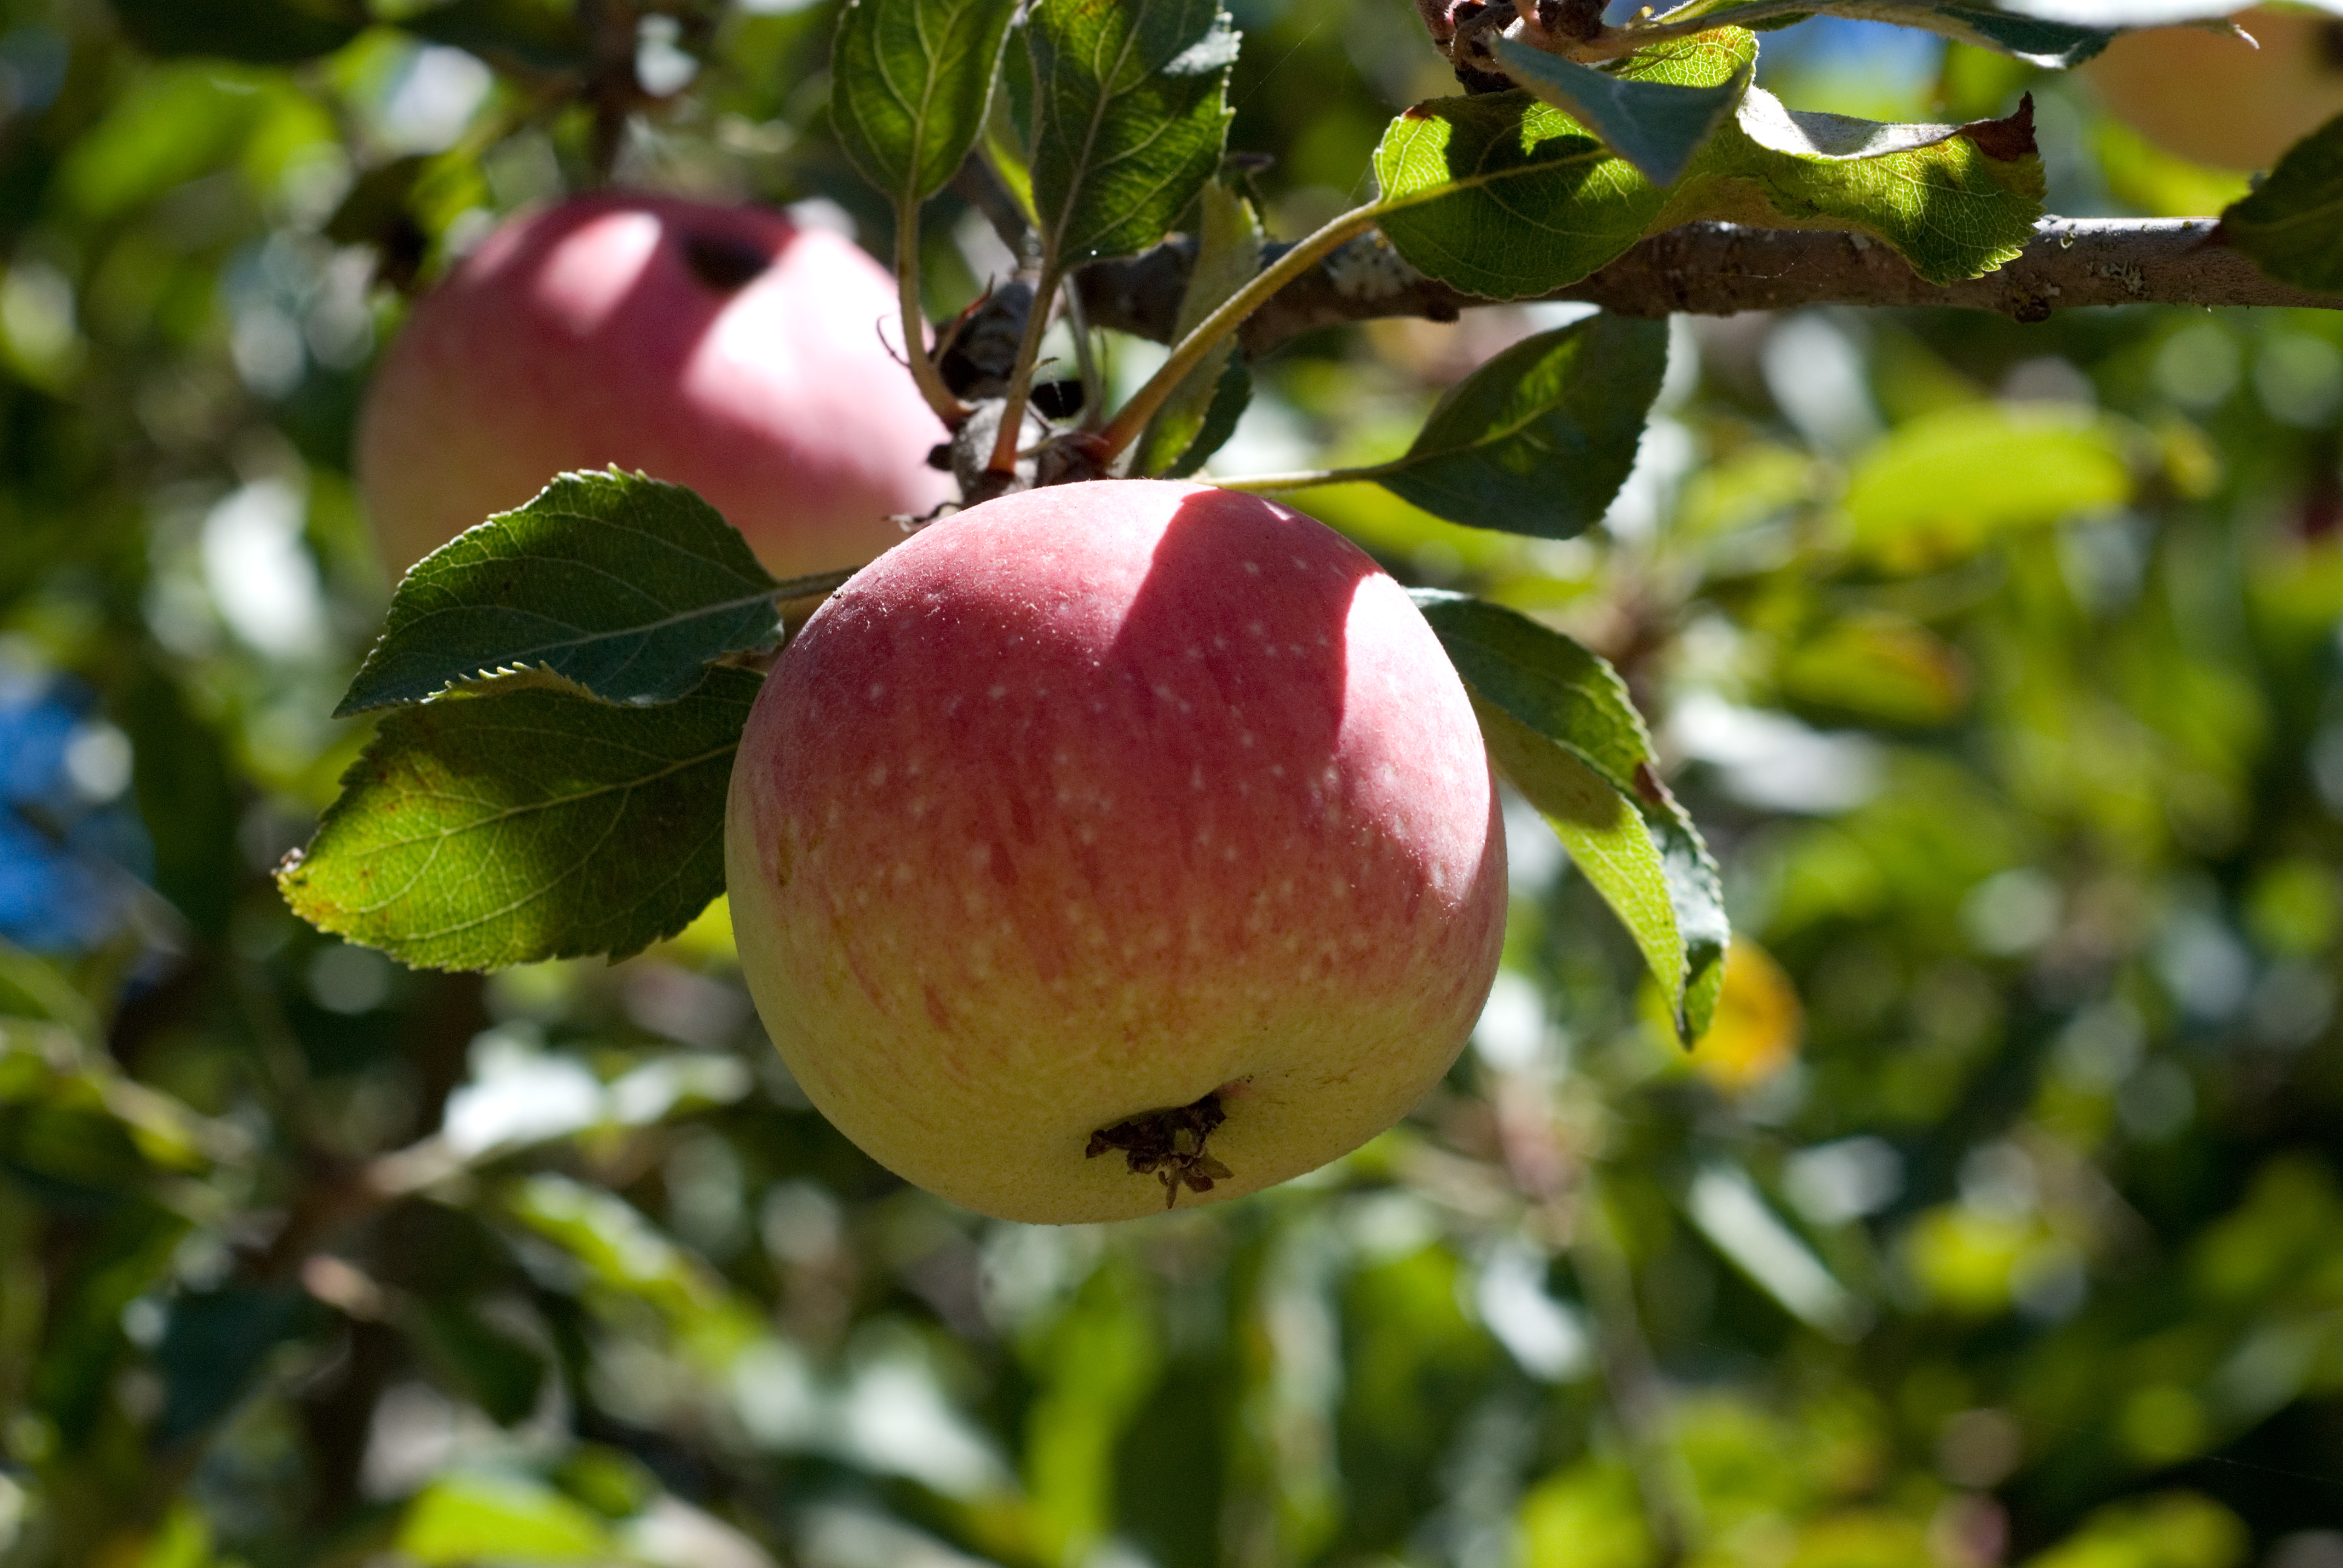
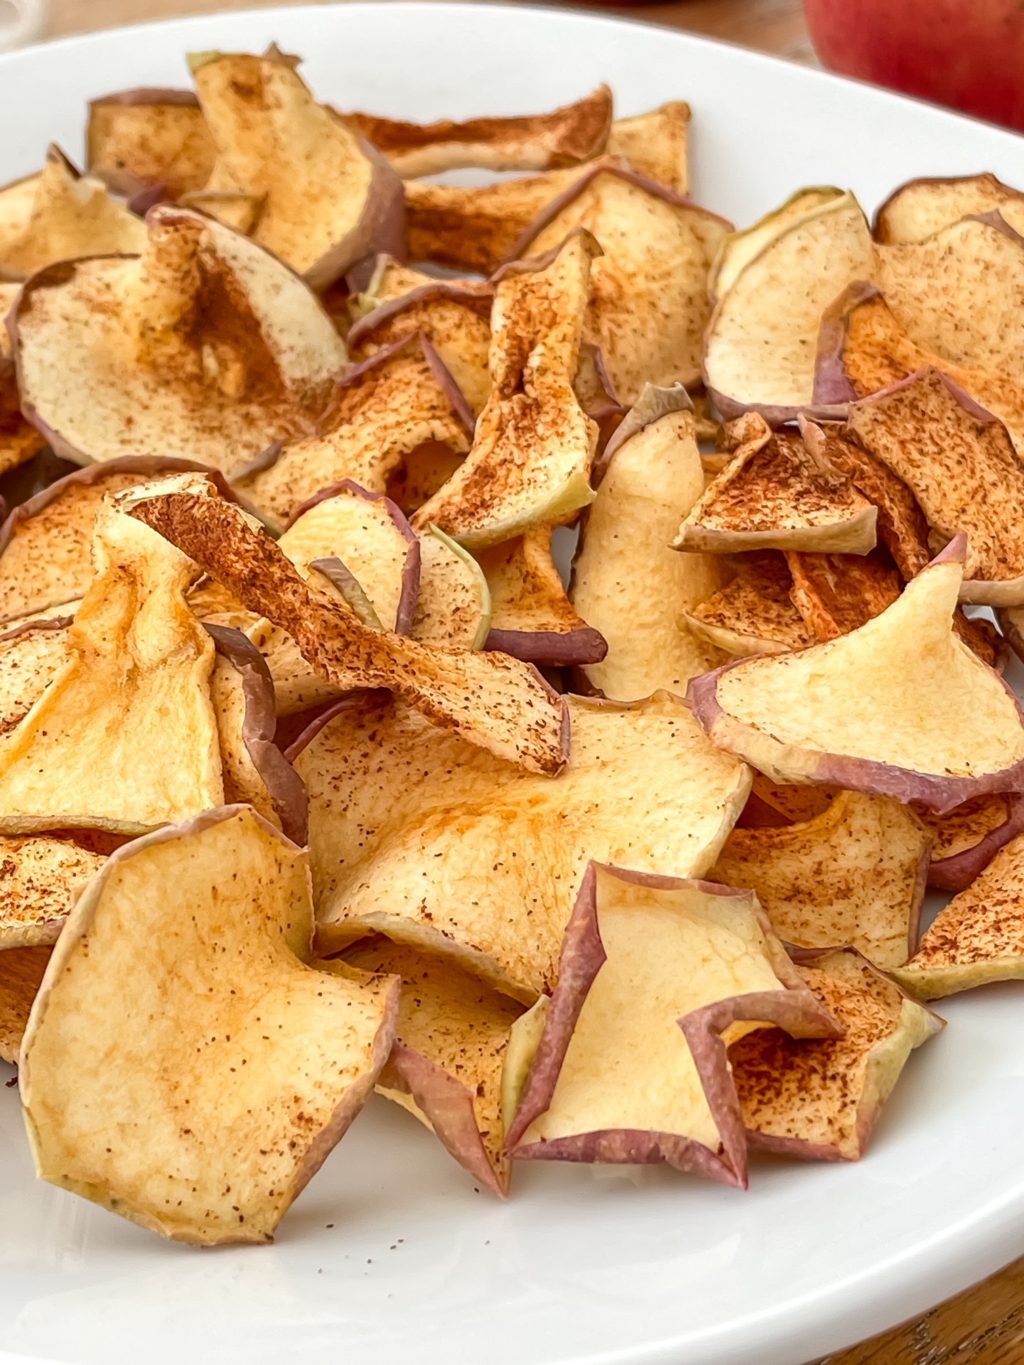
- Apples– You can use any of your favorite apples to dehydrate. We used Fuji for this tutorial. The size of your slices (we did 1/3-1/4 slices) determines how many apples you need.
- Cinnamon- Using any seasoning on top of your dehydrated apples is totally up to you. The cinnamon just gives it an extra sweet flavor, although the dehydrated apple chips are sweet enough.
Steps for Dehydrating Apples
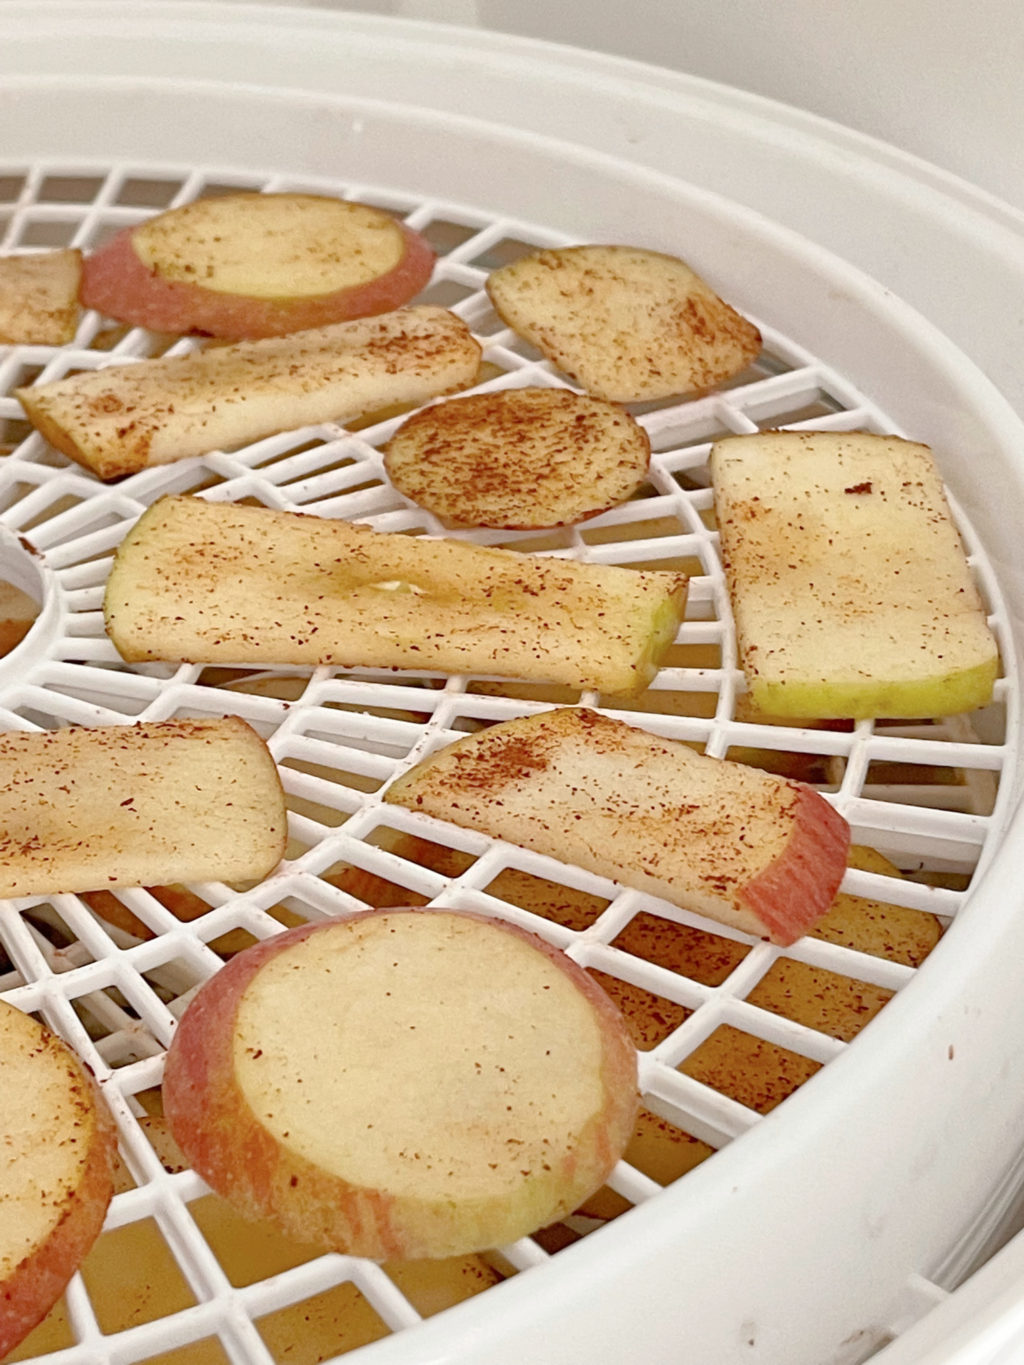
Step one – prep the apples. Wash and dry your apples. Cut apples into slices that are 1/4 or 1/3 slices. You don’t want to cut slices bigger than 1/2, as those will take longer to dehydrate. If you want to sprinkle any cinnamon on top, this is the time. Apply as little or as much as you want.

Step two – add apples to the dehydrator. Place apple slices on the trays in the dehydrator in one single layer. You will want to put them close to each other while making sure that they aren’t touching. This will allow good airflow when dehydrating.
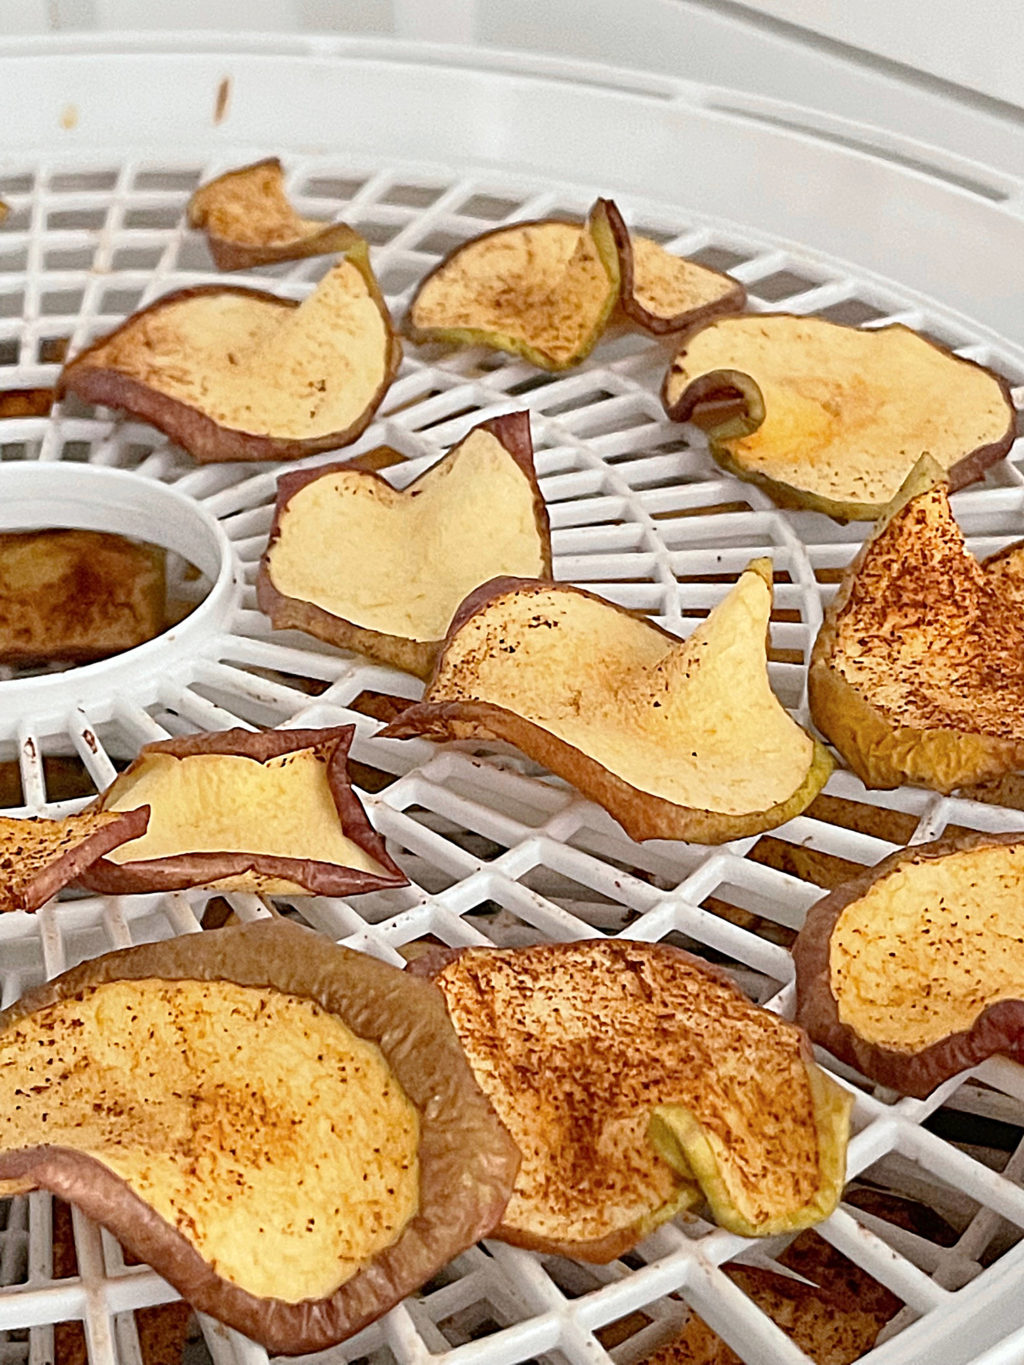
Step three – dehydrate. Set the temperature on your dehydrator to 130 F and go. Dry your apples for approximately 12 hours. Your apples should have a soft leathery texture. If you want your apples crisper (dryer), leave them in your dehydrated for another hour or so.
How to Store Dehydrated Apples
There are a couple of ways to store your apples after you dehydrate. The most important tip regardless of what you use is to make sure it is airtight. You will want to place your stored apples away from direct light or heat. If properly stored, your dehydrated apples should have a shelf life of six months to a year if kept in a dry, cool environment.
Here are a few storage options that we have used.
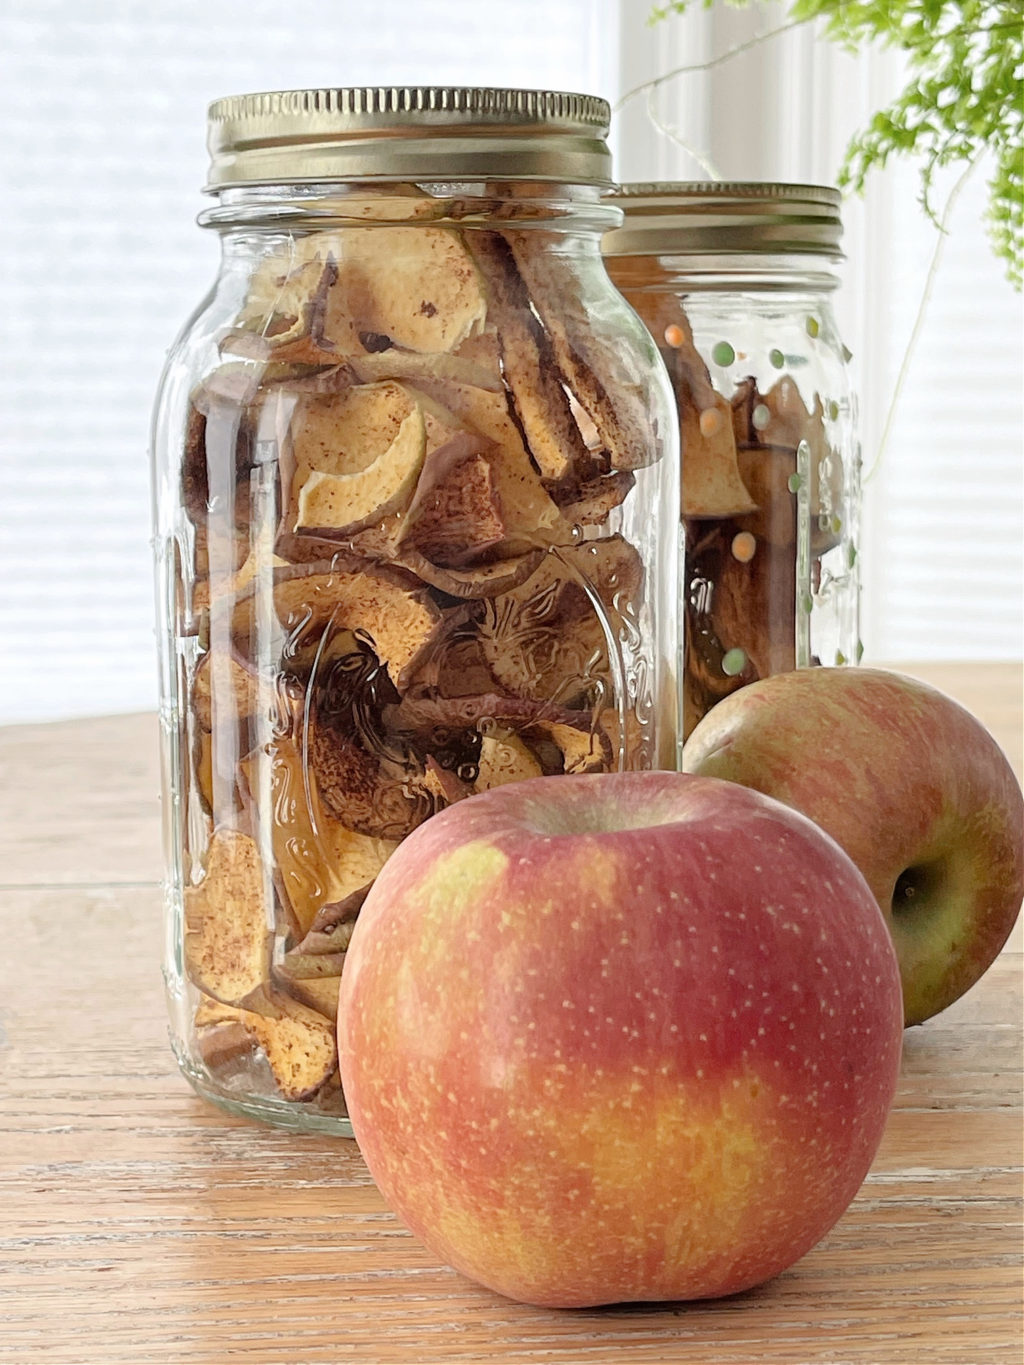
- Mason Jars- Our preferred way. Keeps preserved apples fresh and they look pretty in the jars.
- Ziplock bags- For short-term storage, zip lock bags seem to work just fine to keep your apple slices preserved.
- Containers with lids- These work well too, just make sure the lid is airtight.
More apple goodness
5 ways to enjoy apples this Fall
Shop for a dehydrator (affiliate links used)
I have rounded up a few affordable dehydrators. These are great options if you are just learning and starting to dehydrate. You will want to look for dehydrators that have adjusted temperature settings, multiple trays, and one that is quiet. Ours is a bit loud so I have to put it in the laundry room on the counter, with the door shut when we are using it.

Will my tutorial on how to dehydrate apples in 3 easy steps help you when you are ready to dehydrate? Let me know how it goes.