How to Build a Hidden Faux Panel on Shiplap Walls
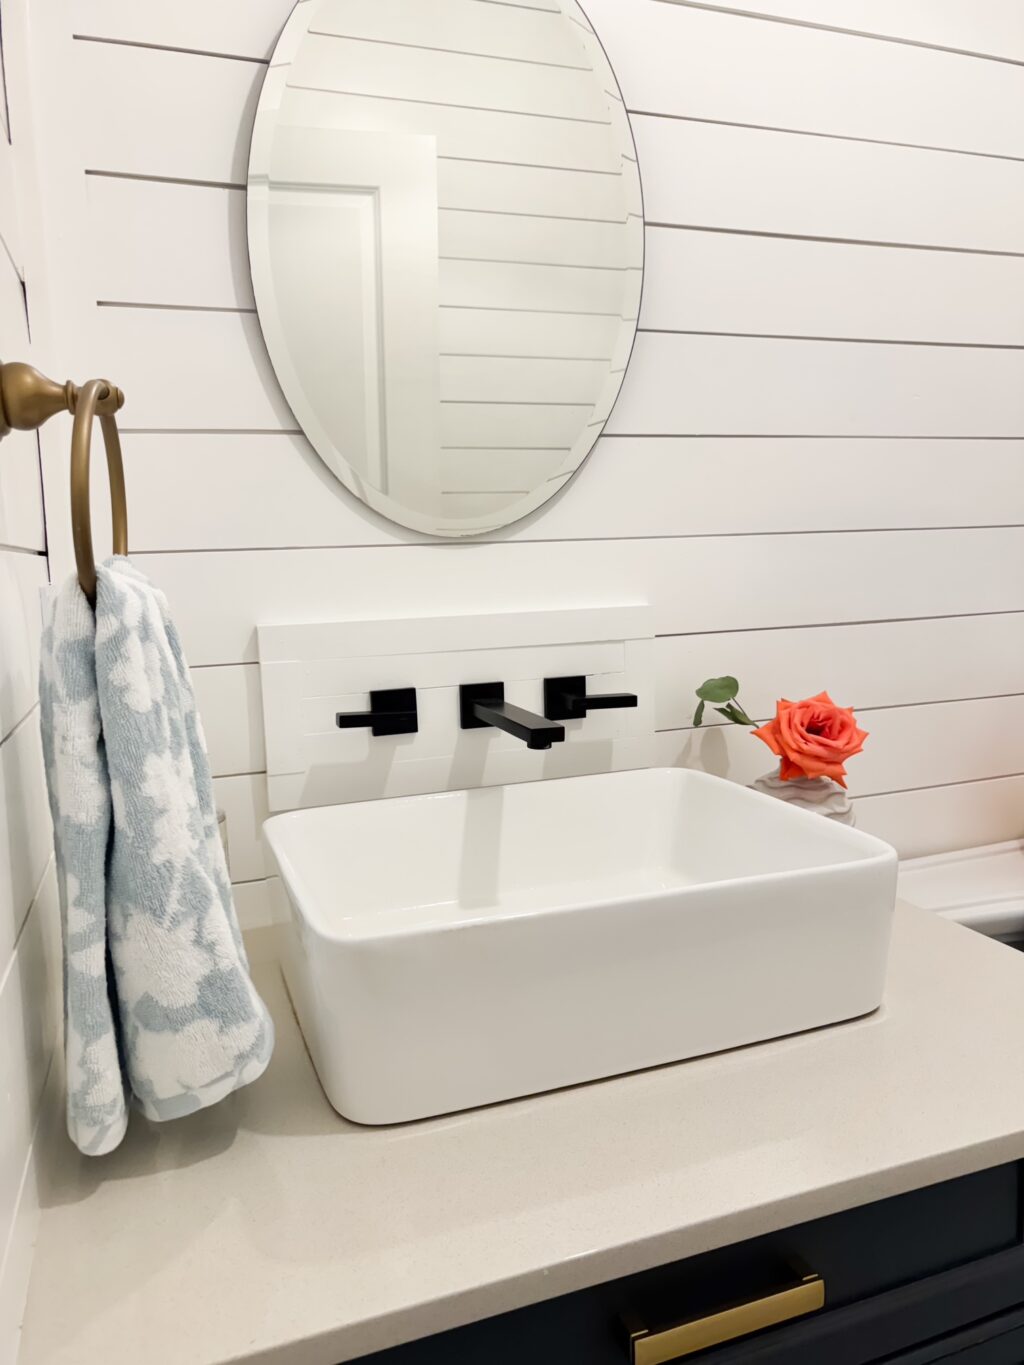
If you’ve installed shiplap walls but need to access wall faucet plumbing, cutting into your wall can feel daunting…. been there, done that. I wish we would have thought about the what if’s before installing our wall mounted faucet on our shiplap walls in the bathroom.
In this post, I’ll walk you through how to build a concealed access panel for wall plumbing that looks like part of your shiplap wall….just in case you didn’t think about it either.
Read my pros and cons of wall mounted faucet.
Why You Need a Hidden Panel in Shiplap Walls
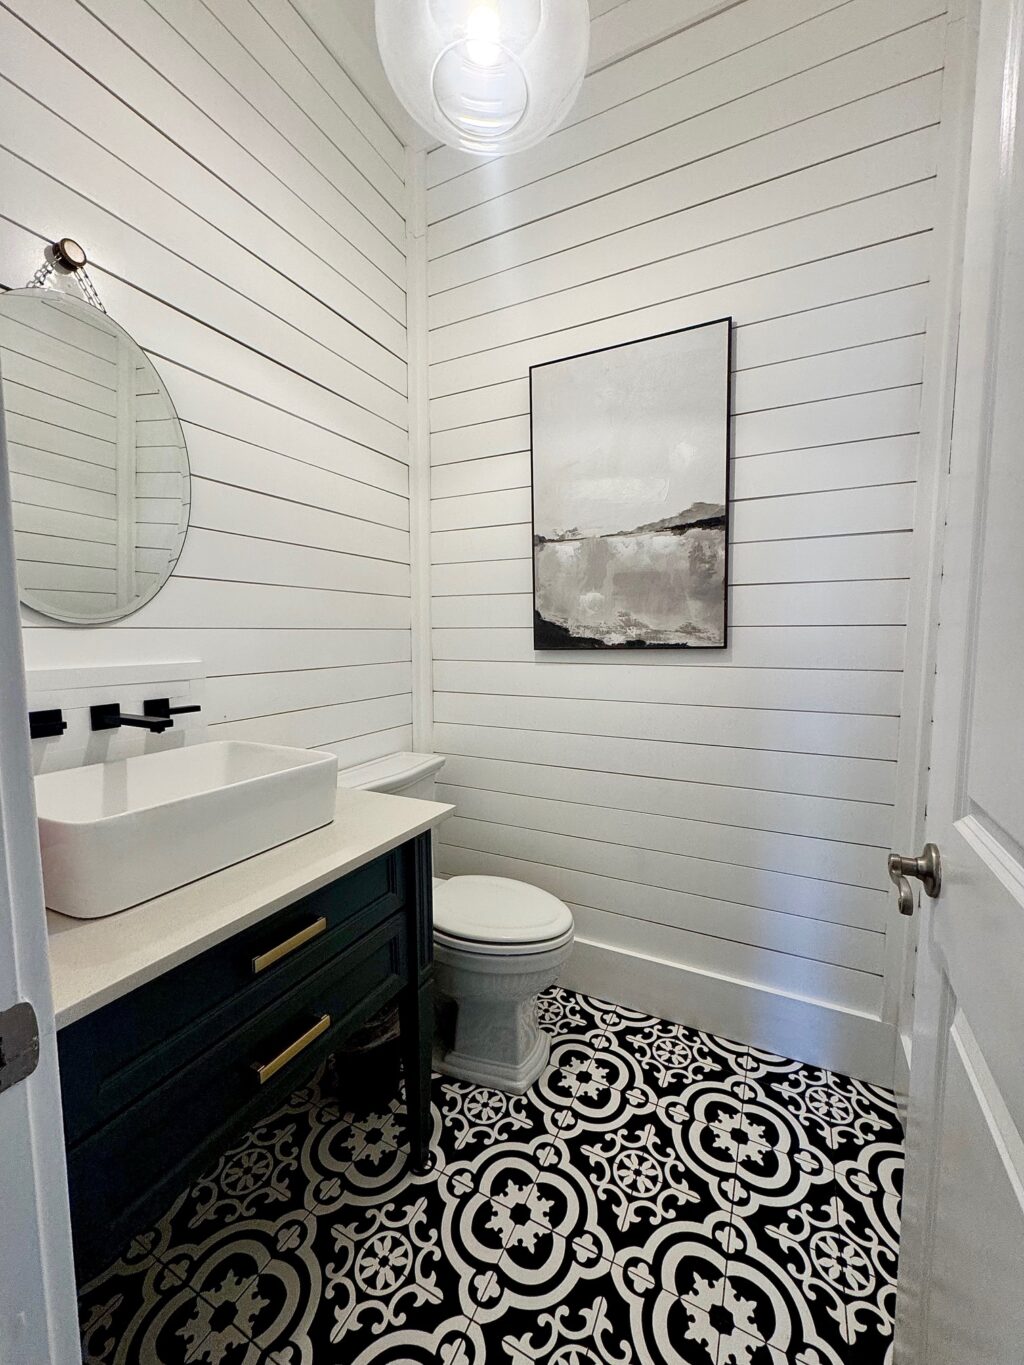
Shiplap walls are beloved for their timeless appeal—but what happens when you need access to hidden plumbing behind the wall? Rather than cutting a random hole or damaging your beautiful wall, you can create a faux panel on shiplap that provides easy access while maintaining your home’s aesthetic.
In this post, I’ll walk you through how to build a concealed access panel for wall plumbing that looks like part of your shiplap wall—perfect for homes like Duke Manor Farm where function meets design.
What Is a Faux Panel on Shiplap?
A faux panel is a section of your shiplap wall designed to open and close like a small door, giving you direct access to plumbing or wiring hidden behind the wall. Done right, it blends in so well, no one will know it’s there.
Tools and Materials You’ll Need
DIY Shiplap Access Panel Supplies:
- Shiplap boards (to match existing wall)
- Concealed or decorative hinges
- Trim
- Wood filler or caulk
- Paint or stain to match existing wall
- Measuring tape, level, pencil
- Jigsaw or oscillating multi-tool
- Sandpaper
- Drill/driver
- Stud finder
Step-by-Step Instructions for Creating a Hidden Shiplap Access Panel
Step 1: Locate the Plumbing Behind the Wall
Use a stud finder to locate the wall faucet plumbing or hose bibb. Measure and mark the area you need access to. You want the opening to be big enough for repairs but small enough to hide seamlessly in your shiplap wall design.
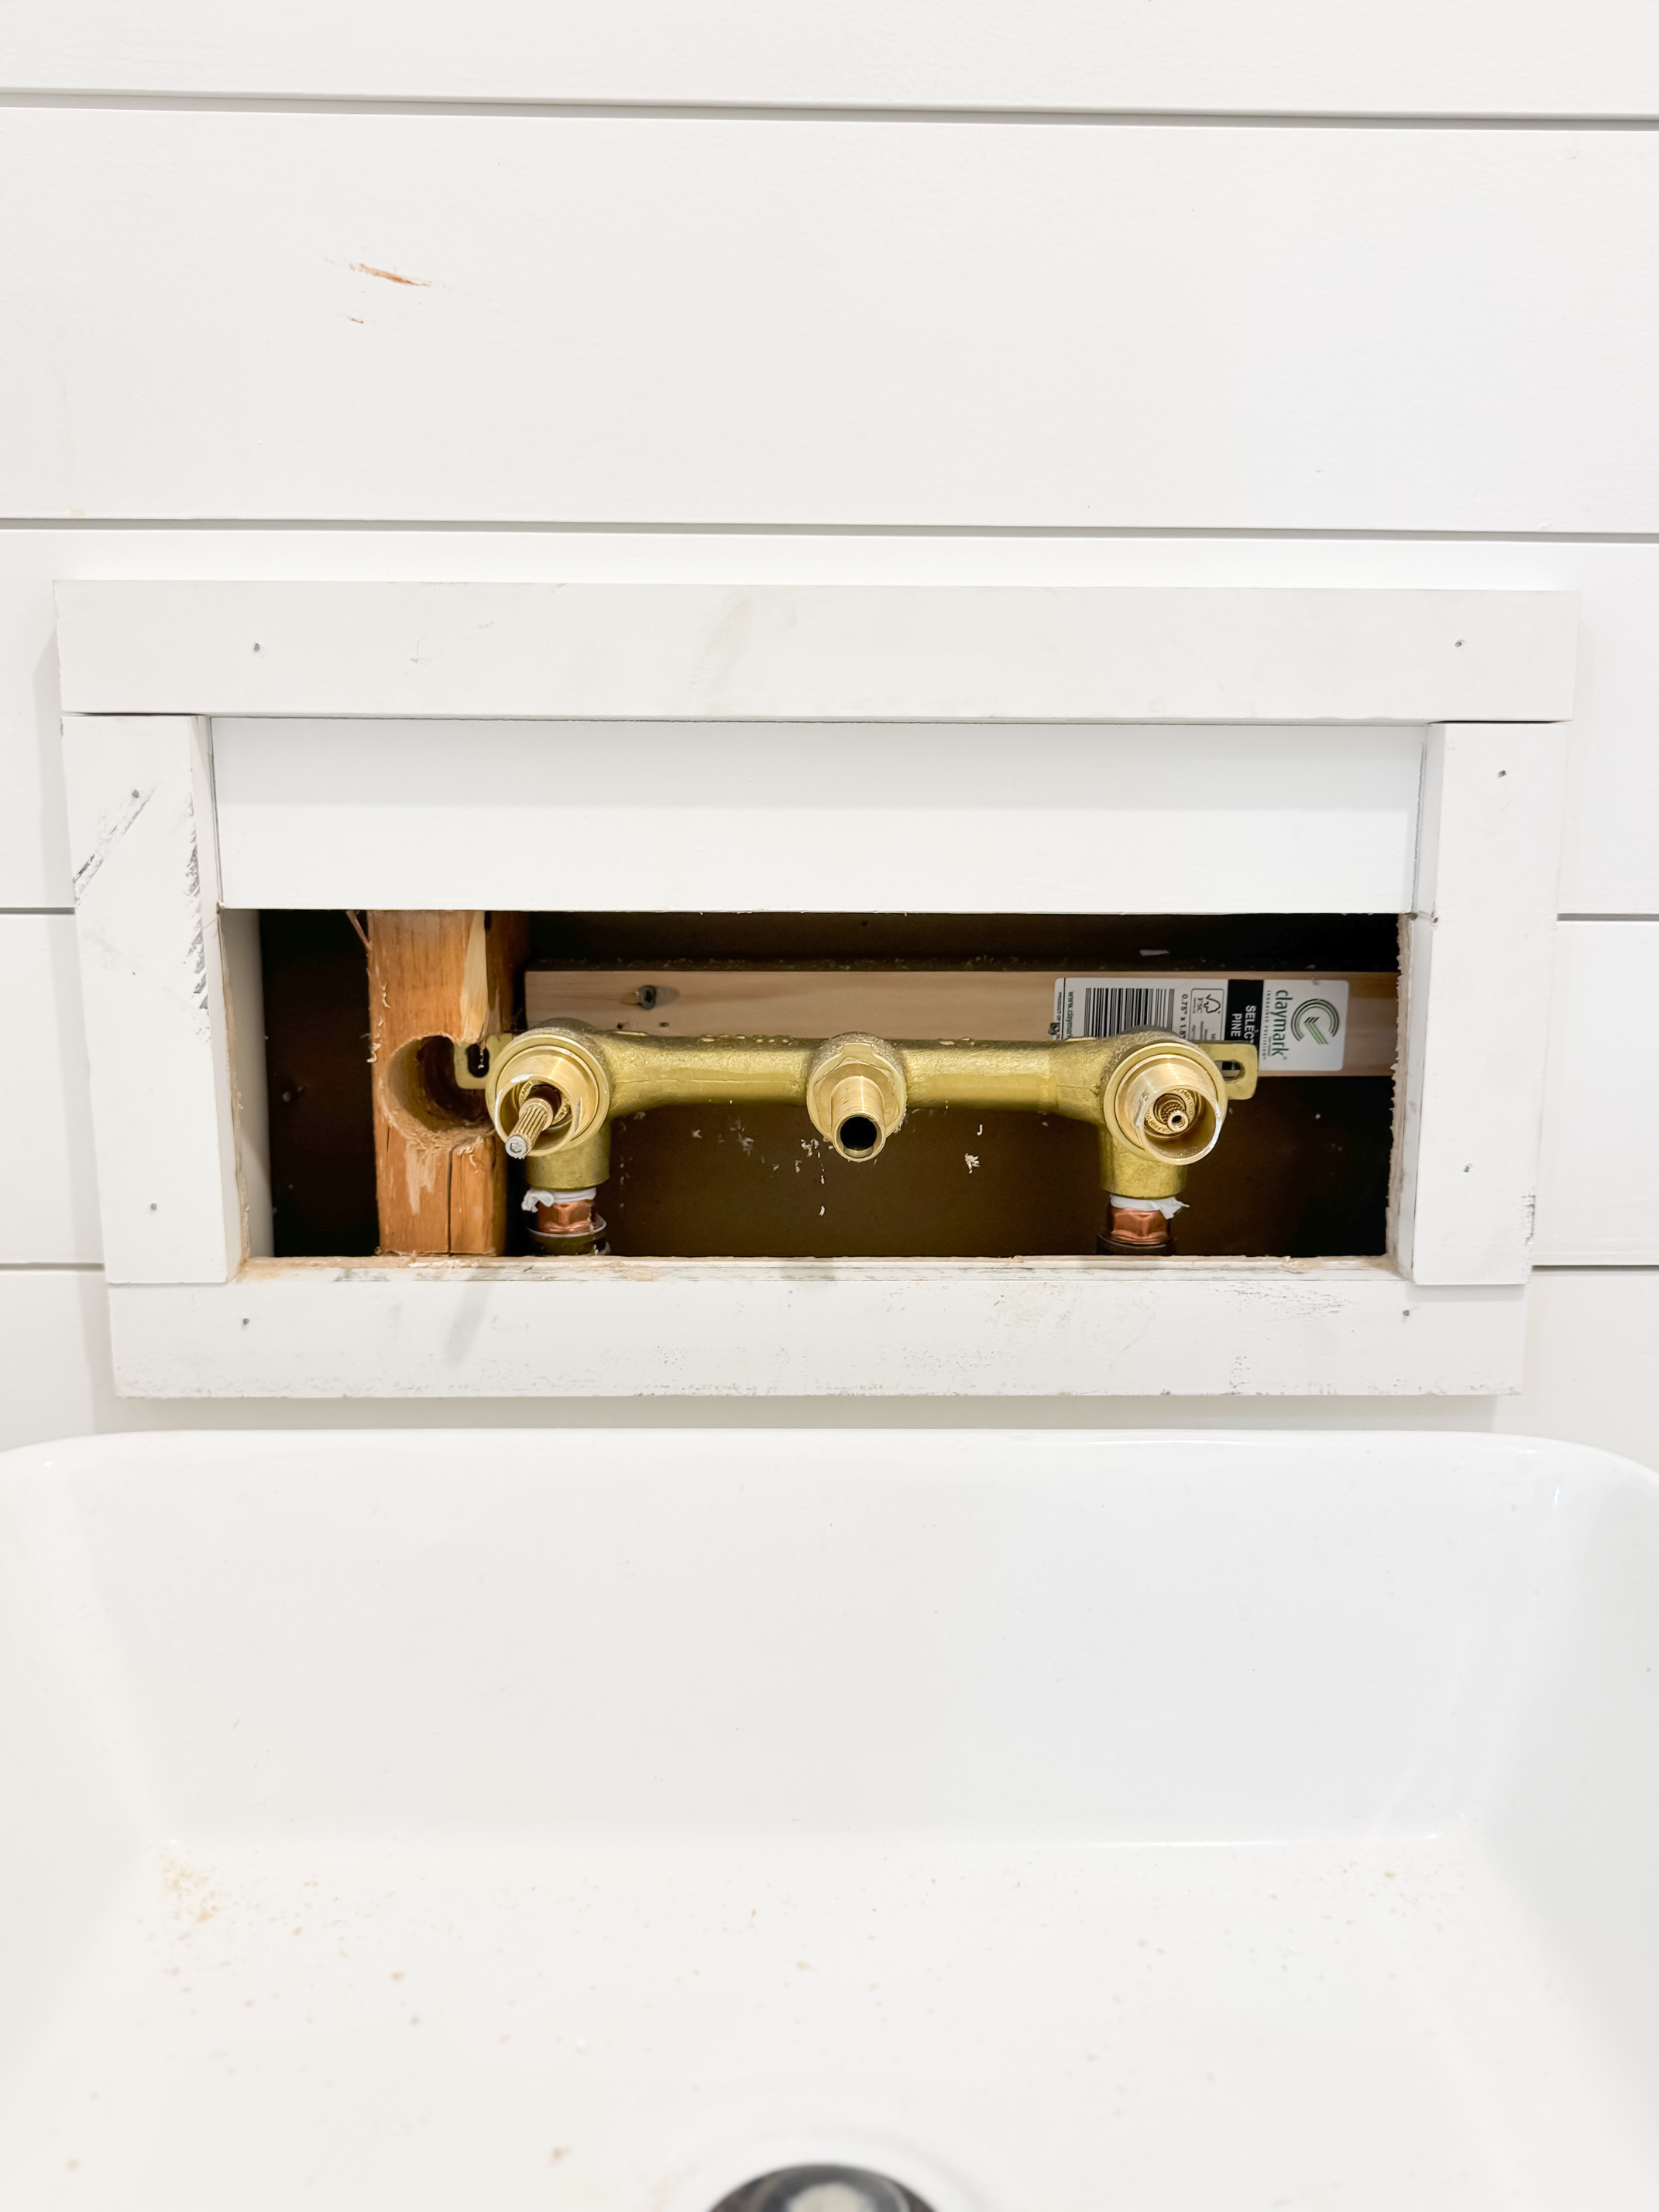
Step 2: Mark and Cut the Faux Panel Section
Carefully mark your cut lines along the grooves of the shiplap to maintain continuity. Using a jigsaw or oscillating tool, cut the section out. Save the cut piece—it will become your DIY shiplap access door.
Pro tip: Make the cut at natural seams or plank lines to disguise it better.
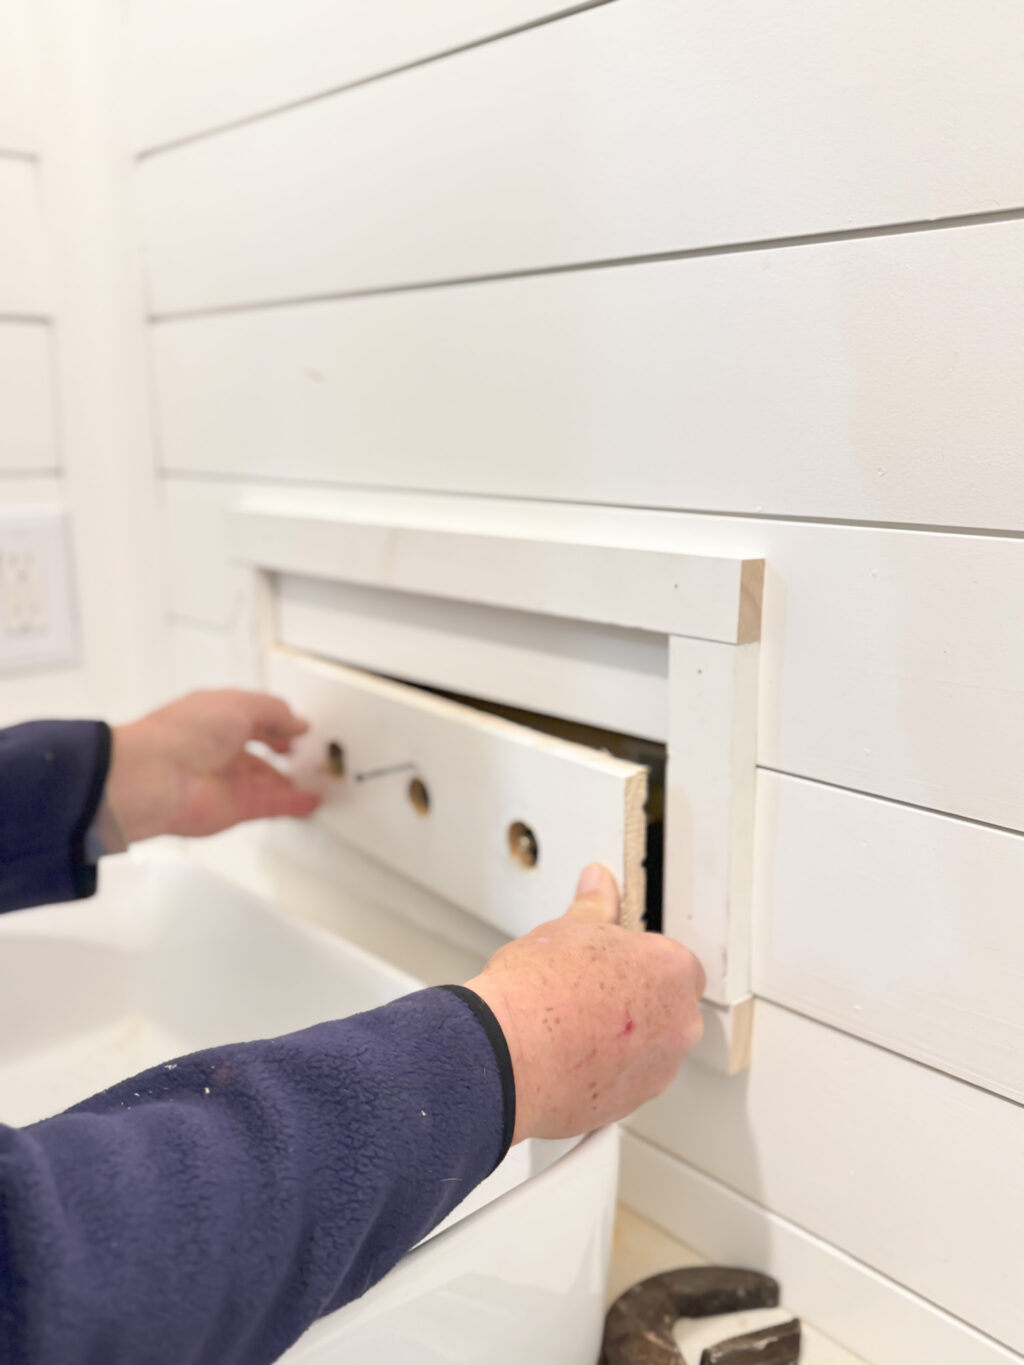
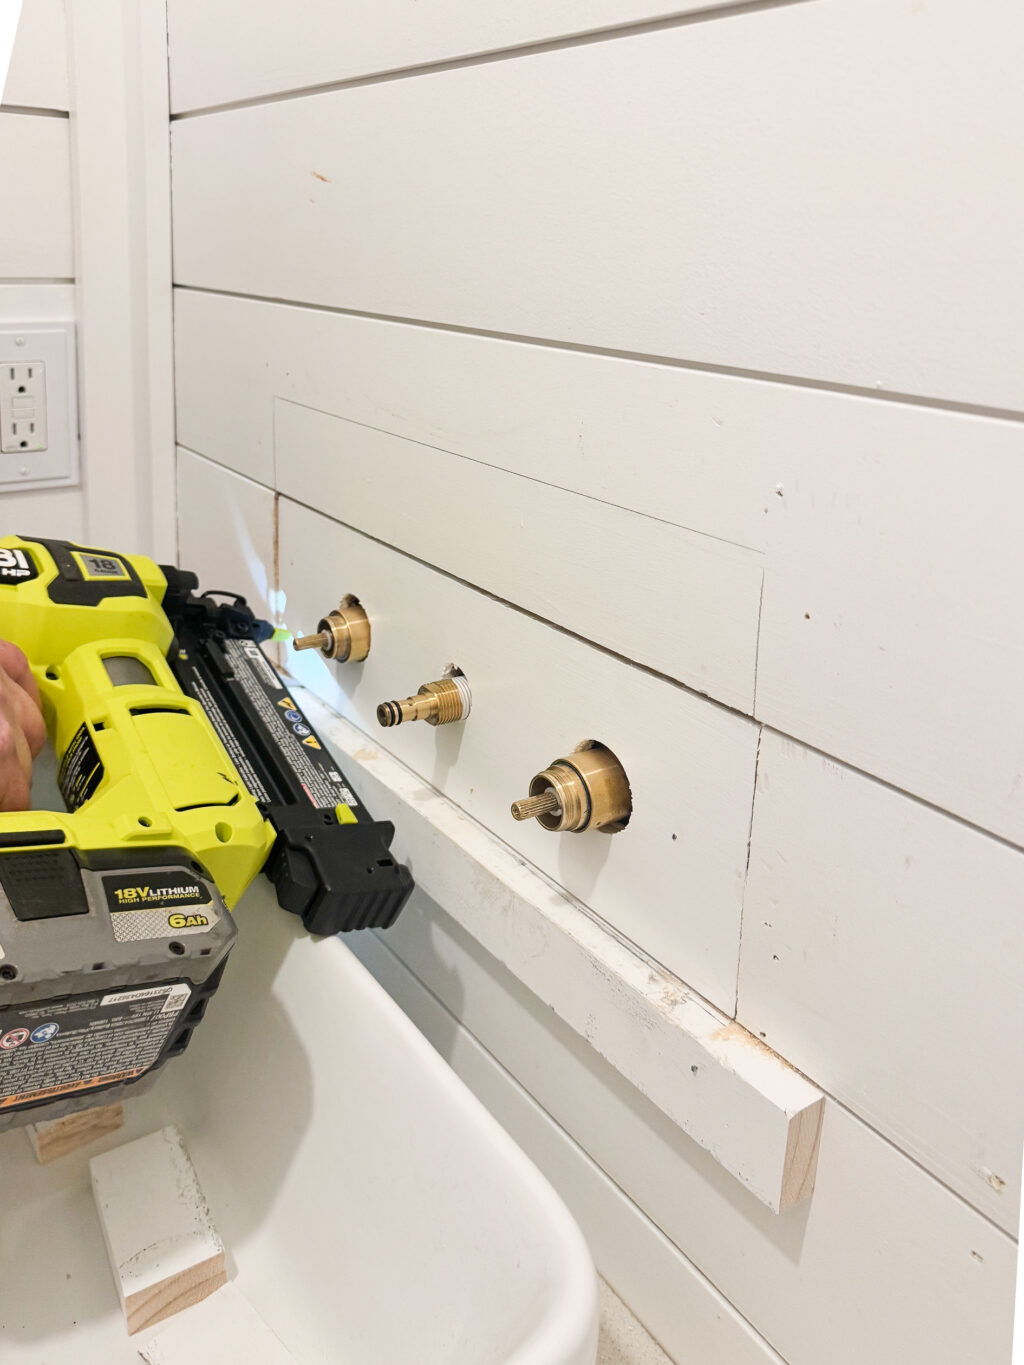
Step 3: Attach Hinges or Trim for future Access
Concealed hinges are ideal for a seamless look. We opted to configure a piece to fit around the faucet and trim around the panel.
Step 4: Sand, Paint, and Blend
Sand the edges of your panel and surrounding wall to smooth any roughness. Paint or stain the panel to match the rest of the shiplap wall. This step is key in creating a hidden panel on shiplap that no one will notice.
Tips for Making Your Faux Shiplap Panel as Invisible as you can
- Line up your cuts with shiplap grooves
- Use the same paint or stain finish as the rest of the wall
- Avoid visible hardware on the front surface
- Mark the back or inside of the panel so it’s easy to find later
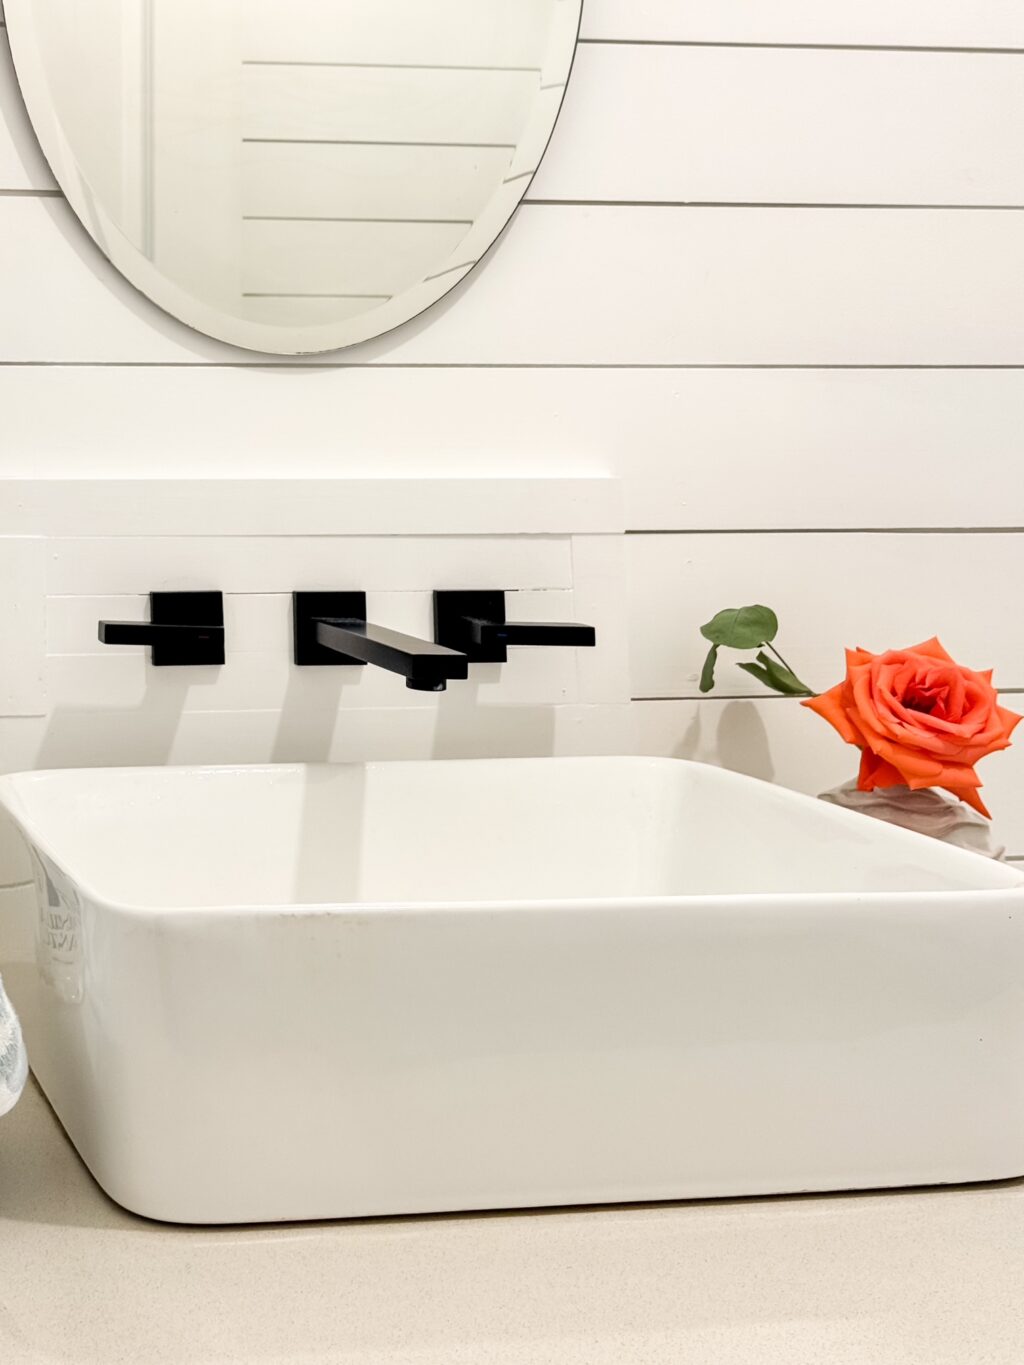
Conclusion: Smart Design for Real-Life Needs
Creating a faux panel in shiplap for plumbing access is a smart, stylish solution that gives you the best of both worlds—form and function. Whether you’re renovating an older home or adding new features, this easy project will save you stress (and wall damage) down the road.
Here are more ideas from this bathroom:
How to update a 15 year old vanity
Lay tile like a pro…. like I did!
See what this bathroom originally looked like 23 years ago when we built the house
Got any questions or need more DIY inspiration? Let me know in the comments!